Packaging Design to Production in China: Boxes, Bags & Gift Sets
Quick answer
To move a packaging design into production, connect the artwork to a buildable structure, an agreed material specification and one controlled approval record. Resolve product fit and opening before finishing tools are released. A render can communicate intent, but the converter still needs panel, joint, insert and packing information tied to the approved sample.
Packaging design reference. Final fit, materials and finish are confirmed on an approved sample.
At a glance
Coordinate box structure, inserts, bags, cards and artwork from brief to physical sample and production approval, with a clear specification for each component.
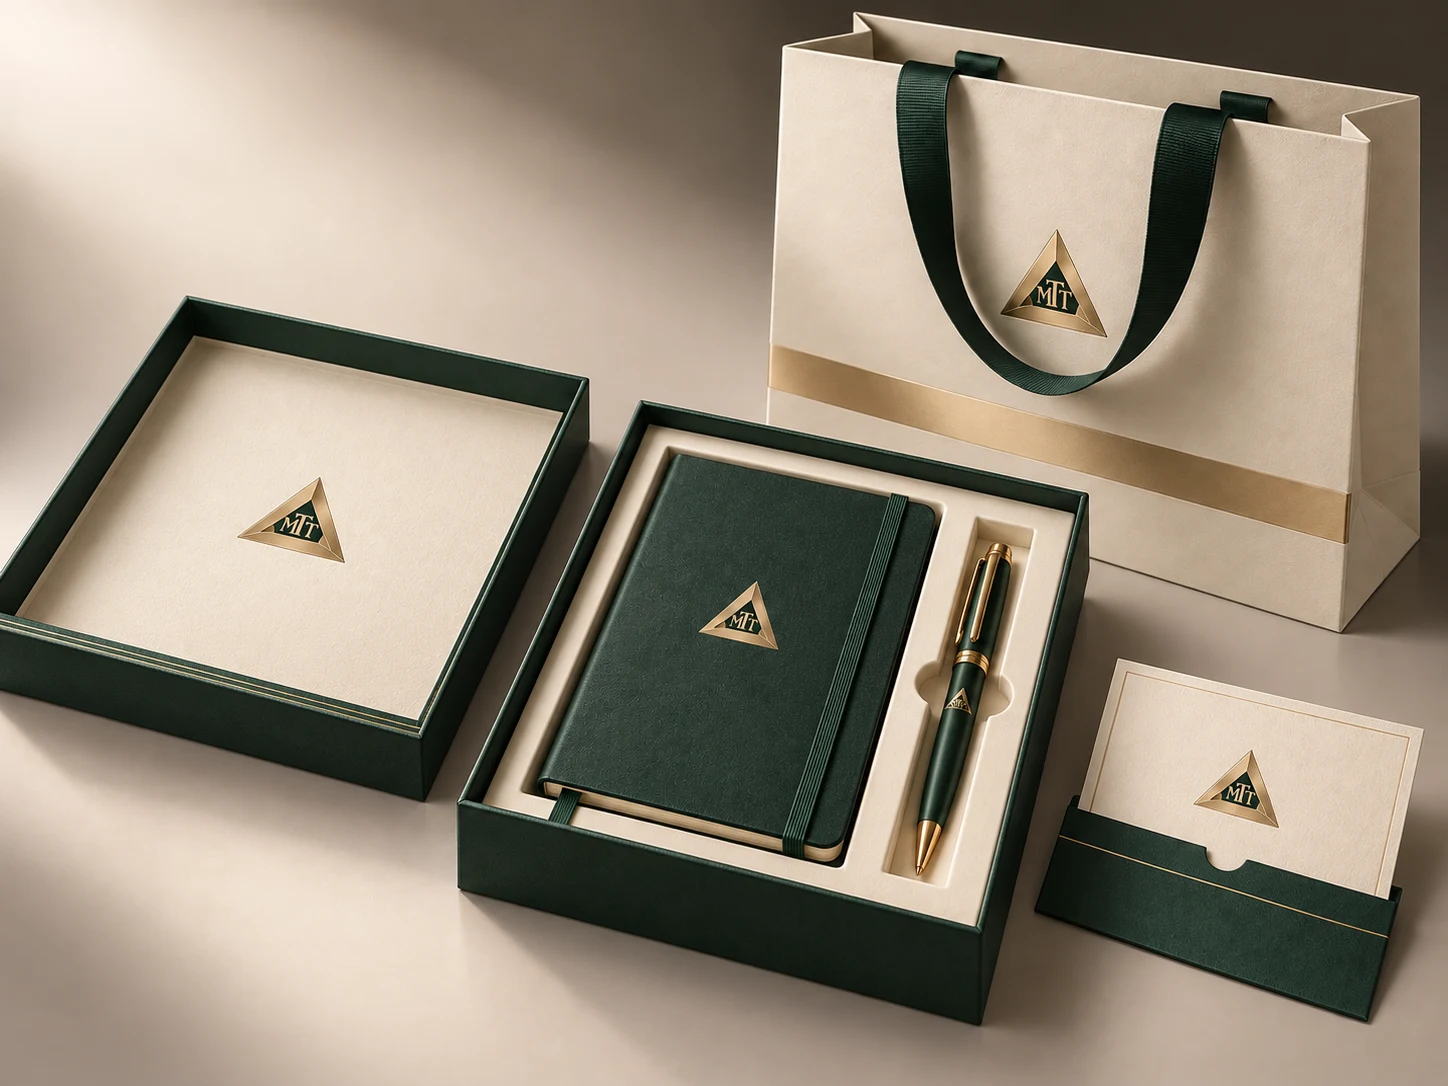
A render can show proportion and mood without proving that panels fold, magnets close, inserts retain products or foils register across seams. Production also needs answers about board grade, wrap, grain direction, adhesives, tolerances and packing. The gap is resolved by structured engineering decisions and physical validation; it cannot be resolved by asking the artwork file to carry information it was never designed to contain. Start with the workflow in How We Work. Specify finished internal dimensions separately from external shipping dimensions and the maximum product envelope. A fitted cavity also needs a practical removal route: finger access or a secured lift ribbon, without losing the support needed for the product. The illustration shows an opening direction, not measured clearance, load capacity or a production drawing. Confirm these with a physical sample.
02
Make the artwork follow the actual opening
A lift-off lid must be a separate cap sized to the wrapped base, not a hinged cover. A drawer needs sleeve clearance and a secure pull tab. A book-style magnetic box needs a working spine allowance and aligned concealed closures. Double doors need balanced hinges and a consistent centre seam. A tiered box needs support and access to the lower tray. Review the rigid box catalogue by structure and test each opening with the actual contents. A dieline should represent the selected production route and material thickness. Do not build final artwork on an unverified template. Manufacturing has cutting, folding, wrapping and registration variation, so critical graphics need safe distances from edges, seams and joints. The acceptable tolerance depends on the structure and process. Review the supplier dieline, then lock its version before final artwork release.
03
Specify the material and finish together
Specify materials by function and visible result: structural board thickness and density, paper grade, coating, texture, color, internal liner and insert material. Screen appearance is not a reliable material standard. Request physical swatches where texture or color matters. Also confirm whether a dark paper will be printed, foiled or left material-led, because each route changes artwork preparation, color behavior and rub risk. Foil, embossing, debossing, spot UV, lamination and specialty papers each have process limits. Fine lines can fill, deep embossing can distort the reverse, foil can bridge poorly across texture and finishes near folds or wrapped edges may crack or misregister. Decide which visual signal matters most, define process layers clearly and sample critical combinations. Selective finishing often creates stronger hierarchy than applying every premium process across the full surface.
04
Approve the loaded sample and its limitations
The insert begins with the actual product dimensions, weight, fragile areas, presentation angle and removal method. A render of an empty cavity is not enough. Product orientation affects box depth and opening sequence; heavy or tall products change support requirements. Coordinate the insert with the outer structure through custom insert engineering, then test it with real products rather than nominal dimensions alone. Sampling tests construction, proportion, color, finish, insert fit and opening experience. A white structural sample can resolve geometry before expensive printed finishing. A later printed sample confirms appearance and process interaction. The studio should review the sample with the actual product, under representative light, and record comments against one numbered version. “Match the render” is not a sufficient approval instruction.
05
Include the bag, card and transport pack
List what is supplied: presentation box, product insert, paper bag, ribbon, card, tissue and any shipping carton. State the quantity for each component and whether it arrives loose or assembled. The hexagonal gift box and paper bag example illustrate different component choices; they are not a dimensionally matched set. A pictured accessory is not automatically included in a quotation. Confirm the box’s external dimensions after wrapping and assembly, its loading orientation and the total carried weight. Specify bag width × side gusset × height. Test insertion, removal and handle attachment with the complete set, including tissue. A loose ribbon and a structurally secured lift ribbon have different functions and should be identified separately.
06
Keep creative approval and production coordination connected
The studio controls brand strategy, artwork and creative approval. MTT can coordinate structure review, sampling and manufacturing-partner information. Record the decision owner, current file and open questions at each handoff. The approved sample, signed artwork, material references and written specification form the quality baseline. Inspection should check dimensions, structure, color, finish position, adhesion, insert fit, opening behavior and packing. Define which differences are critical before production rather than arguing from memory later. Any approved deviation should be documented so the studio, buyer and production partner share the same reference.
07
Release one complete revision
The same artwork on box wrap, bag stock and card paper can differ in colour and sheen. Approve them together and record each substrate and finish. When a box size changes, recheck the bag, insert, card placement and shipping carton before release. The finish guide explains the physical references to request; use the enquiry checklist to keep commercial scope aligned. Confirm individual protection, export carton size, units per carton, gross weight, carton marks and delivery terms. Premium surfaces may require tissue, sleeves or dividers to prevent rubbing. Fold-flat structures can change freight and assembly economics. The shipping plan should be developed alongside the box, particularly when launch timing, fulfillment location or pallet constraints are fixed.
Can MTT review a box, bag and card in one brief?
Yes. List each component, its quantity and how the set is packed. Dimensions, material options and sample approval still need to be confirmed for every component.
Does matching artwork guarantee the same colour on every component?
No. Paper, texture and surface finish affect reproduction. Approve the components together against physical references.
What should happen if the product or box size changes?
Recheck the insert, finished outer size, bag fit, card placement and shipping pack. Keep the revised specification linked to the approved artwork and sample.
From guide to product
Compare packaging for your brief
Explore the opening, material and insert details for each design. These are options to review, not proof of a tested fit for your product.



 Bank Transfer
 PayPal