Packaging Sample Approval: What to Check Before Production
Quick answer
Approve each packaging sample for a defined purpose. A plain structural sample can answer fit and opening questions; a colour proof answers print questions; an assembled sample in the intended materials brings them together. Record what is approved and what remains provisional. Do not let a good-looking prototype stand in for loaded fit checks or the agreed transport assessment.
Ask how the sample was produced and where it differs from the intended production route. A hand-cut insert may demonstrate a layout while leaving production tolerances unresolved. A printed mock-up on substitute stock may show artwork placement without confirming colour or finish. List these differences on the sample record.
02
Check the loaded box before the surface finish
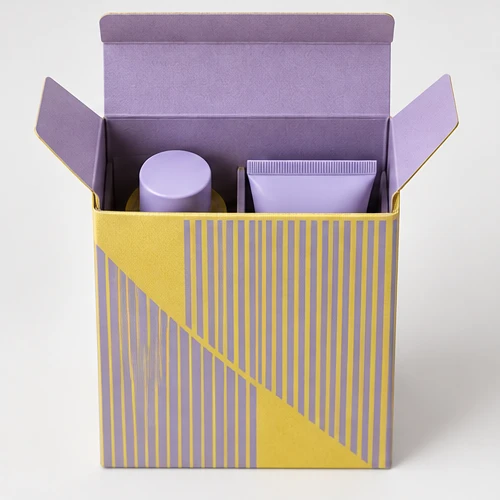
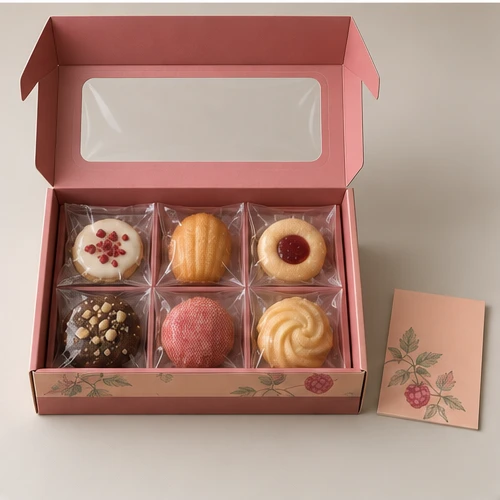
Use the final product with cap, label and accessories. Check insertion, removal and closure without forcing a flap or pressing on the contents. Inspect the insert after removing the product: marking or movement may be hidden when loaded. Repeat with representative product variation rather than accepting a single unusually convenient fit.
03
Give appearance its own reference
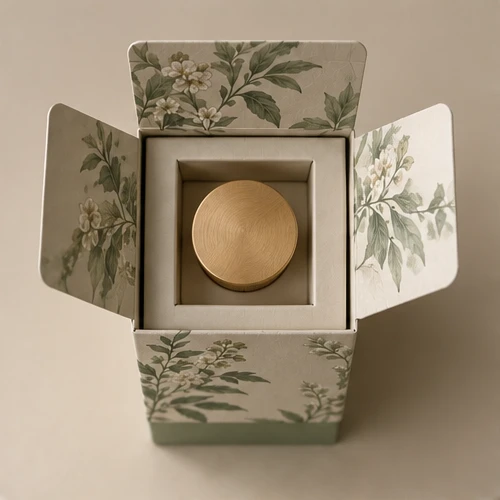
Approve the substrate, colour reference and finishing location together. Inspect wrap joins, exposed edges and registration at corners. A screen comparison is insufficient for a tactile finish. If artwork changes after fit approval, check whether any new label, card or lining also changes clearance.
04
Write a decision, not “looks good”
Sample ID and drawing/artwork revisions.
Approved dimensions, materials and contents.
Accepted appearance reference and identified deviations.
Outstanding changes and who confirms them.
Required loaded or transport checks before release.
Photograph both the accepted detail and any defect so the supplier is not interpreting a vague description.
 Bank Transfer
 PayPal