How to Reduce Custom Packaging Sampling Rounds Before Mass Production
Quick answer
Reduce avoidable sampling rounds by deciding what each sample must prove and keeping all comments against one revision. Confirm product dimensions, structure and material availability before refining decoration. Combine feedback from the buyer’s team, but do not skip a necessary fit or transport check to meet an arbitrary one-round target. Changes discovered through physical validation can be legitimate.
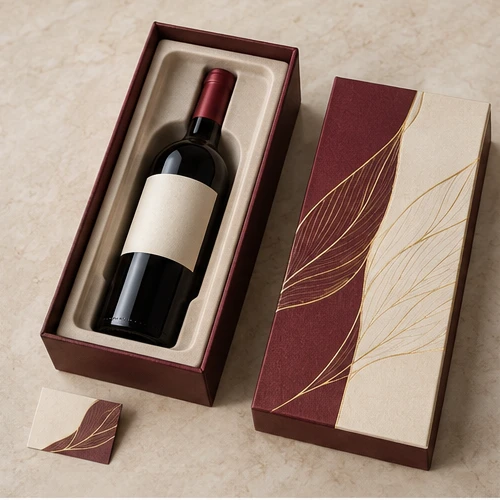
Packaging design reference. Final fit, materials and finish are confirmed on an approved sample.
At a glance
A pre-sample checklist for resolving product dimensions, structure, materials, inserts, artwork, color, finishes and shipping requirements before physical sampling.
Common causes include nominal instead of measured product dimensions, late product changes, unclear internal size, an insert designed without weight data, artwork built on an old dieline, unspecified paper, screen-only color references and finishes approved without process detail. Some revisions are legitimate discoveries from physical testing. The preventable rounds are those spent finding information that could have been resolved in the brief. Review the standard development process before scheduling.
02
Resolve the product envelope first
Measure the real product in length, width and height and include weight, fragile points and protrusions. For bottles, include the cap, pump and collar. For handmade or variable products, provide a measured range and several samples. Confirm whether accessories, manuals or cables share the pack. A product photograph helps orientation but does not replace dimensions. If the product is still changing, identify which measurements are frozen and which remain provisional. State whether every dimension is internal, external or product size. The usable internal space depends on board, wrap, liners and insert construction. External size affects shelf fit, cartons and freight. Mixing the two creates structural revisions even when the numbers appear correct. The packaging calculator can support preliminary planning, but final dimensions must be engineered and confirmed through the physical sample.
03
Name the material that the sample must represent
Specify the structural target and let board thickness be evaluated against box size, weight, opening feel and production method. Do not assume thicker board is always more premium. Excess thickness can change hinges, folds, lid fit and wrapped corners. Record both material grade and thickness where relevant, because boards of similar thickness can behave differently. Any substitution during sampling should be identified rather than treated as visually equivalent. Name the paper or board reference, color, coating, texture, weight or caliper and visible side. “Premium paper” is not a specification. If an exact stock is unavailable, approve a physical alternative before it enters the sample. Dark, uncoated and textured papers affect print and foil differently. Keep supplier swatches or coded references with the approval record so later production is not matched to a compressed photograph.
04
Insert Structure
Define product orientation, support areas, removal method, presentation height and preferred material before sampling. Include the actual product or accurate CAD where possible. A cavity should reflect weight and fragile zones as well as outline. Confirm whether the insert is removable, printed, wrapped or shared across SKUs. Outer box and insert dimensions should be reviewed together through the selected packaging structure.
05
Pantone / Color References
Provide Pantone intent where relevant and state whether the target applies to ink, colored paper, foil or another process. The same color appears different on coated white board, kraft, texture and lamination. Screen values and emailed photographs are insufficient for critical matching. Decide what physical reference controls approval and under what lighting it will be reviewed. Allow a sample to establish a realistic production target.
06
Foil / Emboss / UV / Lamination
Separate each finish in the artwork and define area, color, texture and register relationship. Confirm whether embossing is blind or aligned with print or foil, whether the reverse impression matters and whether lamination is matte, gloss or soft-touch. Critical finishes near folds, seams or narrow lines need feasibility review. Sampling fewer well-defined effects is more useful than asking a sample maker to interpret an unlabeled render.
07
Artwork and Dieline
Use the current production dieline, include bleed and safe areas, outline fonts where requested and package linked assets. Mark front, back, top, opening direction and inside panels. Keep foil, white ink, spot UV and cut lines on named layers. Assign a revision number and retire old files. Final artwork approval should refer to the same dieline and dimensions used for the physical structure.
08
Product Orientation
Show exactly how the product faces when the box opens and how the customer removes it. For sets, define sequence and label direction. Orientation changes cavity geometry, graphics and sometimes box depth. Check whether the packer can identify the orientation quickly and whether products can be inserted without scratching. Include a simple annotated photograph or diagram in the brief instead of relying on verbal descriptions such as “facing forward.”
09
Shipping Requirements
State the destination, distribution method, individual protection and any carton or pallet constraints. A sample intended only for visual approval may not prove parcel protection. If shipping volume matters, compare assembled and fold-flat structures before tooling. Confirm whether the product will be packed in China or elsewhere because that changes how boxes ship and who performs assembly.
010
Pre-Sample Checklist
□ Product dimensions
□ Product weight
□ Product photos
□ Quantity
□ Packaging structure
□ Material
□ Insert
□ Artwork
□ Pantone
□ Finishes
□ Delivery market
□ Shipping method
Mark each item approved, provisional or not applicable. Do not hide an unresolved input; assign it an owner and deadline.
011
Sample Approval Record
Review structure, dimensions, material, color, finishes, insert fit, product orientation, opening experience and visible workmanship separately. Photograph issues, reference measurements and state the requested change. Avoid comments such as “make it more premium” without a physical criterion. Issue one consolidated revision list so different stakeholders do not send conflicting instructions. Record what is approved as well as what must change.
012
Mass Production Reference Sample
Keep an approved physical sample, signed artwork and written specification as the production and QC reference. Identify any sample feature that differs from the intended production method. If a late change affects structure, material or fit, evaluate whether another sample is necessary rather than assuming the reference still applies. MTT coordinates these references with the selected production route and inspection plan.
From guide to product
Compare packaging for your brief
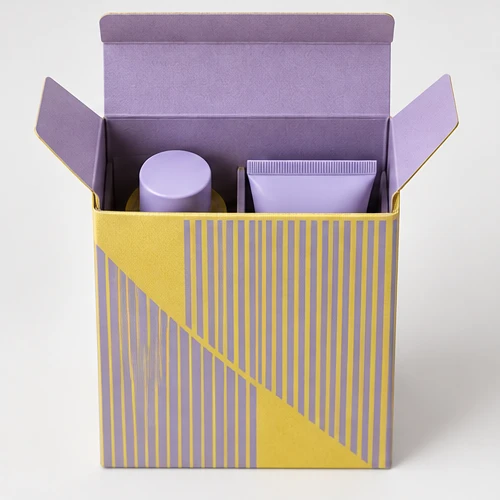
Explore the opening, material and insert details for each design. These are options to review, not proof of a tested fit for your product.


 Bank Transfer
 PayPal