In this guide · 6 sections
- Start with the complete fragrance set
- Decide how the second layer is revealed
- Separate presentation fit from transport protection
- Measure the layers before final artwork
- Compare quotes on the same packed set
- Sources
80 / Fragrance Packaging
Quick answer
A two-tier fragrance set can place a full-size bottle and smaller vials in separate trays while keeping one coordinated gift box. Start with the filled products, then decide which layer the recipient sees first, how each tray is lifted and where the lid clears the contents. Check the assembled set and its shipping pack with physical samples.
 By Hugo He · Custom Packaging Consultant, MTT Packaging · Updated 2026-11-10
At a glance
Plan a two-tier fragrance gift box for a bottle and vials: compare tray access, insert fit, sample checks and complete-set shipping.
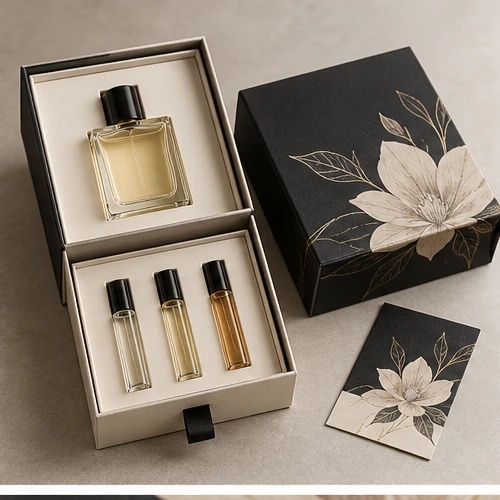
The pictured fragrance layering set is a design reference: it shows a full-size bottle with a separate vial presentation and a decorated lift-off cover. It is a useful starting point for discussing a stacked set; dimensions, materials and production details need confirmation for the actual product.
List every bottle, vial, cap, card and accessory. Measure the filled product with its closure fitted, note the weight and label orientation, and provide drawings or physical units. A nominal volume does not describe a bottle’s shoulder, cap height or fragile decoration. Keep the top and bottom layer identified on the drawing so the packer and recipient follow the same sequence.
In a stacked arrangement, the recipient must be able to reach the lower tray without tipping the first one. Try a finger recess, a pull ribbon or a removable upper tray, then verify the chosen feature against the actual load. A pull tab needs an attachment that the intended handling can withstand; its visual presence alone does not establish strength.
Compare the opening on a loaded prototype. Check that fingers can reach the tray without pressing the bottle, the top tray can be set down stably, and the lower items remain visible and accessible. Leave enough working room around closures and labels, but do not specify a universal clearance before measuring the products and material build.
| Part | Decision to document | Sample review |
|---|---|---|
| Bottle tray | Product orientation and supported contact areas | Cap clearance, finish contact and removal access |
| Vial tray | Number, spacing and orientation of each vial | Label visibility and ability to remove one vial at a time |
| Layer interface | How the upper tray locates and lifts | No unintended pressure on lower contents; stable handling |
| Outer cover | Lift-off depth, visual alignment and closing method | Closed clearance and repeatable lid fit |
| Shipping pack | Carton, packing orientation and distribution route | Agreed assessment with actual filled contents |
A tight-looking cavity is not proof of retention in transit. Review a paperboard or other insert on the basis of the product’s geometry, contact surfaces and removal needs; compare alternatives in the perfume insert guide. ISTA explains that transport procedures evaluate a complete product-and-package system rather than certifying an individual material.[1] Agree suitable acceptance criteria and a representative distribution route with the relevant parties.
Record the usable inside width and length for each tray, the height of the tallest filled item and the space occupied by tray walls, supports and the cover. Check the complete section rather than adding a nominal bottle height to a nominal vial height. The upper tray, lower tray and cover may each add layers at different points.
As a simple illustration, if measured clear heights for the upper contents and lower contents are 55 mm and 25 mm, their sum is 80 mm before tray bases, lid engagement and project-specific clearance. It is not an external box dimension. Confirm the layered section with a supplier drawing and a physical sample. The inside and outside measurement guide explains why the two dimensions differ.
Ask each supplier to identify the cover, base, two trays, insert materials, decoration, assembly and any pull feature. Separate sampling and tooling from repeat-order unit pricing and state quantity per design. If the supplier delivers the trays flat or preassembled, include the packing work and storage impact in the comparison. Confirm the final outer carton dimensions, units per carton, gross weight and freight terms before comparing freight quotes.
The existing discovery-set guide addresses selecting and arranging multiple small vials; this guide focuses on a full-size bottle above a separate lower layer and the access and fit between those layers. Use the sampling guide to document revisions and approvals.
From guide to product
Explore the opening, material and insert details for each design. These are options to review, not proof of a tested fit for your product.
Rigid gift boxes · Two-tier lift-off box
Pearlescent wrapping paper
View structure & details →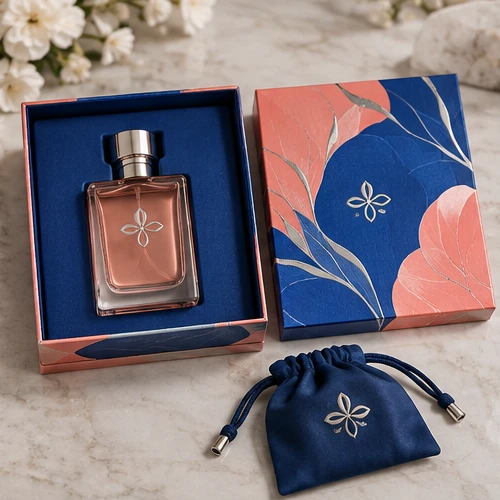
Rigid gift boxes · Lift-off lid
Gloss-laminated printed wrapping paper
View structure & details →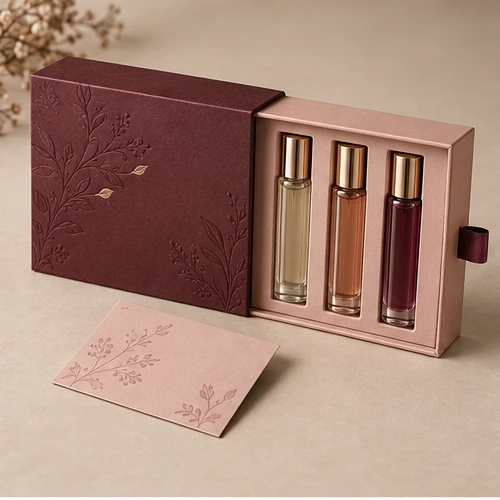
Rigid gift boxes · Drawer box
Smooth matte printed wrapping paper
View structure & details →Payment Options
Available for confirmed production orders.
Available for eligible payments.
Available payment methods may depend on order value, project stage and transaction arrangements confirmed with MTT Packaging.
 Bank Transfer
 PayPal