Perfume Insert Materials: Paperboard, Molded Fibre or Foam?
Quick answer
Choose a perfume insert material by the support the bottle needs, the surface it can tolerate and the appearance required inside the box. Paperboard, molded fibre and foam offer different construction routes. None guarantees protection by name. Compare the same filled bottle in representative samples, including removal access and the final outer packaging.
A folded platform can locate a bottle and provide a printable interior. We would check whether it supports the base and limits movement without relying only on a narrow cut-out. Panel spans, folds and attachment to the box affect the result. A paperboard insert should not be dismissed as purely decorative or assumed to cushion every bottle.
02
Molded fibre: review geometry before tooling
A formed support can follow a three-dimensional layout, but removal from the tool, wall geometry and the chosen process constrain the shape. Ask for examples made by the proposed process. The cavity needs to accommodate the actual bottle variation rather than exactly copy a nominal CAD outline. See the molded fibre development guide.
03
Foam: compare the final covered component
Foam options differ in density, thickness, cutting and compression behaviour. A fabric or paper cover also changes contact and usable space. Review odour, surface marking and removal with the intended bottle finish. A neat cut profile is not evidence of a successful transport test.
04
A practical comparison brief
Use the same bottle, filled weight and outer box.
Mark permitted contact and clearance around the cap.
Identify visible surfaces and plastic-reduction priorities.
Separate tooling and sample charges from unit cost.
Compare retention, removal and appearance on the assembled samples.
Do not trade away required product support to achieve a material claim.
05
Where material selection ends and geometry starts
Once a route is shortlisted, define cavity depth, support zones and permitted movement. The bottle movement and clearance guide covers that next decision. Use the complete transport pack when agreeing performance validation; the decorative box and insert are only part of it.
From guide to product
Compare packaging for your brief
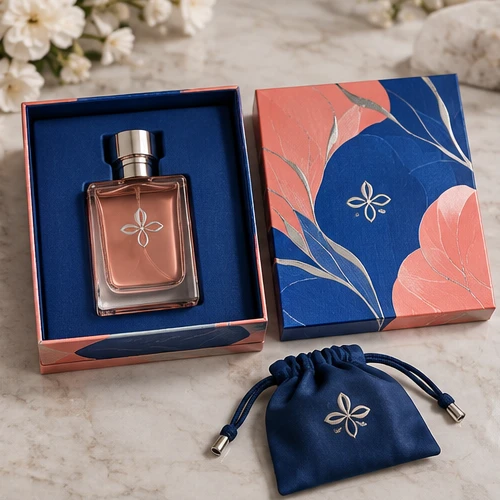
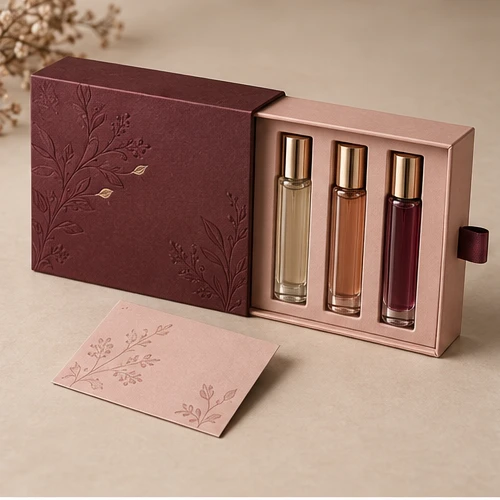
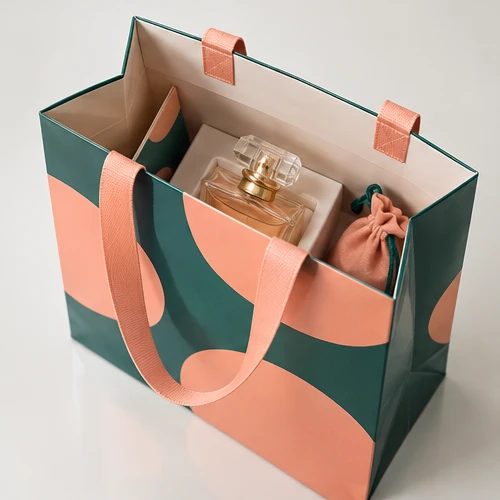
Explore the opening, material and insert details for each design. These are options to review, not proof of a tested fit for your product.
 Bank Transfer
 PayPal