Molded Pulp Cosmetic Inserts: What to Resolve Before Tooling
Quick answer
Before commissioning a molded pulp insert, confirm the complete product set, permitted contact zones and the surface quality required. The forming process and tool design affect what shapes are practical. Evaluate the intended material with real containers, including size variation and removal. A fibre-based proposal still needs fit, finish and transport checks before production approval.
A change from a jar to a pump bottle affects more than the cavity outline. Check total height, cap clearance, weight distribution and finger access. We would resolve uncertain container geometry before commissioning the final tool. If a launch contains several variants, define which combinations one insert must accept.
02
Ask what the proposed process can reproduce
Molded fibre processes differ in surface and geometric capability. Request a representative sample from the intended route, rather than approving a polished render. Discuss draft, transitions, wall geometry and separation from the tool with the converter. Avoid universal angle or clearance rules: these depend on the process and part.
03
Support the container without loading the closure
Define the load path through suitable body or base areas. Do not use a pump or decorative cap as the default support. The opening must retain the smallest approved container and admit the largest without forcing it. Check the final coating or surface treatment as part of that fit, if specified.
04
When another construction deserves a comparison
For a small run with changing containers, a folded paperboard support may be worth comparing before fixed tooling. For an exposed, highly finished bottle, contact marks may outweigh the visual appeal of a fibre surface. Compare alternatives against the same requirements in the insert material guide; a material name alone cannot settle protection.
05
Write acceptance criteria before comparing samples
Separate dimensional fit from surface acceptance. For fit, record the approved container reference, seated height, lid clearance, insertion and removal. For appearance, agree which surfaces are visible and what marking, loose fibres or transfer would be unacceptable. Review the actual decorated container as well as the tray; a clean-looking empty insert does not establish compatibility with a coated bottle.
Molded pulp insert approval record
Check
Record
Decision if unresolved
Fit across container variation
Container and insert revisions checked
Keep the cavity provisional
Surface contact
Contact zones and agreed appearance limits
Compare a different surface or construction
Finished-box assembly
Seated height, closure and removal
Revise the complete layout
Distribution performance
Packed configuration, method and result
Do not extend approval beyond the checks completed
Where storage or humidity exposure is relevant to the intended route, discuss conditioning with the converter and test laboratory. Do not invent a universal exposure period or acceptance limit. The ISTA procedure overview distinguishes screening from distribution simulations; the test selection should match the packed product and route.
06
Approve a tool sample with a documented scope
Actual containers across the approved size range.
Insertion, removal and seated presentation height.
Visible surface and marking after handling.
Fit inside the finished outer box.
Agreed complete-pack distribution checks.
Keep the tool revision and material route with the record. A later container or material change may require new validation. See sample approval.
07
Control changes after the sample is approved
Keep a reference sample and the agreed acceptance record with the material and tool revision. If the container diameter, coating, cap or product combination changes, review retention, contact and clearance again. For ranges using one outer box with several inserts, give every insert a distinct part number and approved packing photograph. See the shared cosmetic gift box decision guide before treating one sample as approval for an entire range.
These are suggested purchasing controls, not evidence that a specific tray has passed testing. Recycled content, recyclability and product protection are separate questions. Request documents that identify the proposed material and the scope of any environmental statement; a fibre appearance alone does not establish it.
From guide to product
Compare packaging for your brief
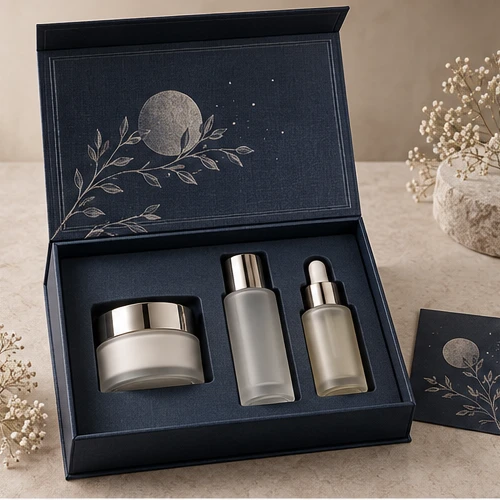
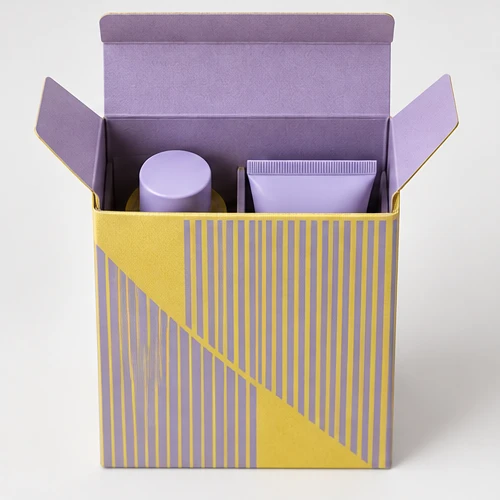
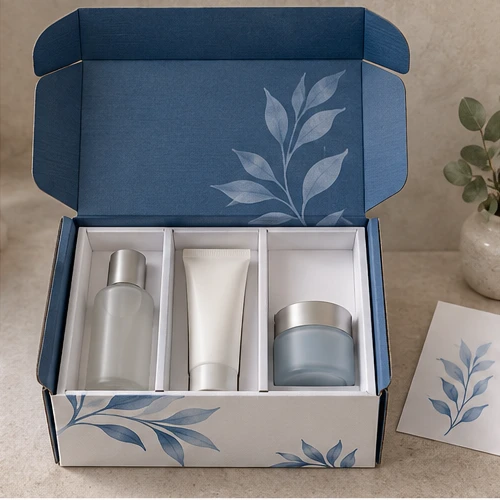
Explore the opening, material and insert details for each design. These are options to review, not proof of a tested fit for your product.
 Bank Transfer
 PayPal