In this guide · 6 sections
- Map the set before approving the insert
- Use a numbered physical loading trial
- Keep artwork and component versions linked
- Turn the map into a supplier brief
- Decision table: record the next action
- Sources
115 / Packaging Engineering
Quick answer
A two-level presentation box needs a loading map as well as a structural drawing. Identify which component goes in each level, which version it carries, and the order in which a packer can load and close the set without disturbing an earlier layer.
 By Hugo He · Custom Packaging Consultant, MTT Packaging · Updated 2026-11-19
At a glance
A two-level presentation box needs a loading map as well as a structural drawing. Identify which component goes in each level, which version it carries, and the order in which a packer can load and close the set without disturbing an earlier layer.
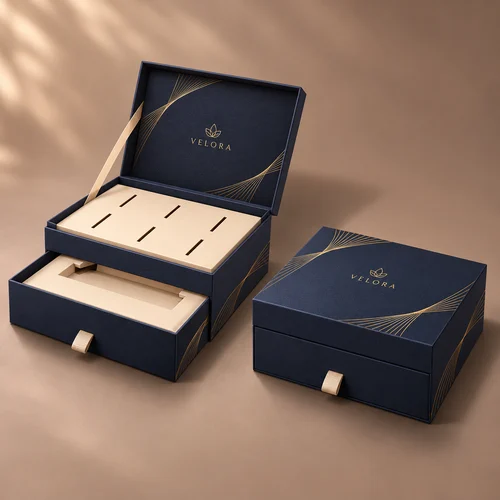
Consider an illustrative set with a printed card on the upper layer and a long accessory in the drawer. Both components fit individually, yet the drawer cannot be loaded after the upper panel is fixed. The question is not only cavity size: the sequence and access must be designed together.
Create a list of all primary packs, caps, sleeves, instruction cards and optional accessories. Assign each a level, orientation and version. Provide maximum dimensions and filled weights, and specify whether the items arrive individually wrapped. Avoid claiming that a generic slotted panel suits every item.
On the sample, number each position and write the insertion order. Check whether the drawer is loaded outside the cabinet, whether the top insert is fixed or removable, and which item blocks access to the next. Record who supplies and inserts cards or tissue.
Try the full set with real product samples in the intended orientation. Close the lid and drawer, then reopen them as the recipient would. Check that the pull tab is reachable and that removing one item does not dislodge another. Compare this with the general PR-kit pack-out checklist without assuming that a different layout can be copied.
Use a single revision table linking box artwork, insert orientation, card language, product variant and quantity. When a variant changes, identify the affected cavity, printed component and packing instructions. Ask the supplier and packing partner to agree the same reference before production.
A colour or coating change can alter how surfaces behave; Holmen notes that ink and varnish influence friction and rub. Confirm the actual material and finishing combination in a sample, and do not infer a quantitative friction value from this general guidance.[1]
Share the numbered list, photographs, product drawings, packing location, artwork revision and destination. Ask for a sample and a price breakdown for shell, inserts, cards, optional accessories and freight. Define who approves the final loaded sample.
The two-level hinged and drawer concept is an illustration for discussion. MTT reviews custom projects from 1,000 pieces per design, with layout, colours and branding adjusted to the brief.
| Review point | What may go wrong | Next decision |
|---|---|---|
| Before packing | Parts or artwork revisions are mixed | Match a numbered component list to quantities by artwork version. |
| Upper level | Packer cannot reach the next component | Review the loading order and whether the panel is fixed or removable. |
| Lower level | Drawer contents catch during insertion | Record the first contact point with the loaded drawer and actual contents. |
| Before shipping | Final leaflet or tissue changes the closed pack | Repeat closing and outer-pack review with every included item. |
Use this as a discussion framework, not as a claim that the pictured concept has been manufactured or passed a test. Keep the actual sample, contents and revision together when comparing changes.
From guide to product
Explore the opening, material and insert details for each design. These are options to review, not proof of a tested fit for your product.
Rigid gift boxes · Hinged lid and lower drawer
Custom paper wrap; color confirmed by sample
View structure & details →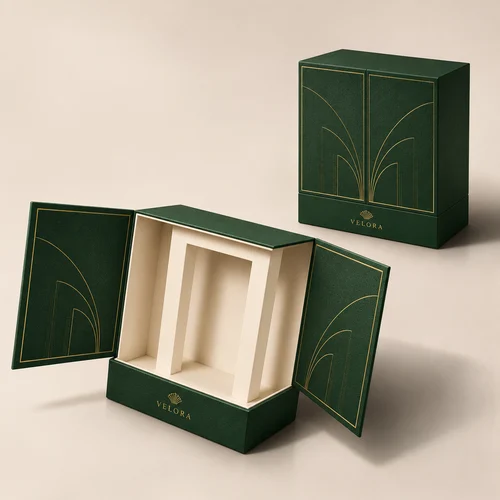
Rigid gift boxes · Upright double-door rigid box
Custom paper wrap; color confirmed by sample
View structure & details →
Rigid gift boxes · Two-tier lift-off box
Pearlescent wrapping paper
View structure & details →Payment Options
Available for confirmed production orders.
Available for eligible payments.
Available payment methods may depend on order value, project stage and transaction arrangements confirmed with MTT Packaging.
 Bank Transfer
 PayPal