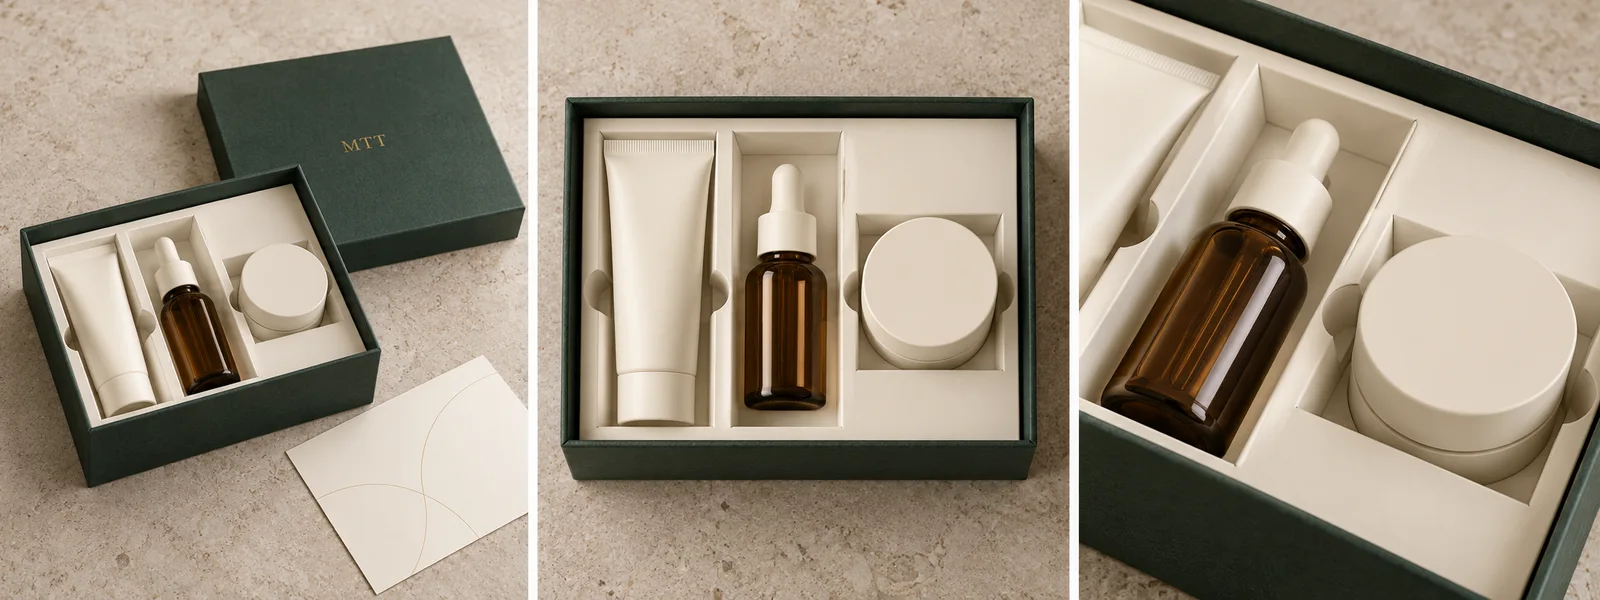
A PR kit packaging design checklist should connect the opening experience with the way the set is packed. This MTT skincare design pairs a forest-green lift-off box with an ivory paperboard insert for a tube, dropper bottle and cream jar. The layout keeps each product visible and gives the packing team a clear position for every component. Review the complete set, including its card and shipping protection, before approving the specification.
By Hugo He · Custom Packaging Consultant, MTT Packaging · Updated 2026-10-30
Packaging design reference. Final fit, materials and finish are confirmed on an approved sample.
At a glance
Explore an MTT skincare PR kit design: lift-off box, fitted paperboard insert, gold logo detail and a practical packing checklist.
The design uses a two-piece rigid box: a separate lid and a paper-wrapped base. Removing the lid reveals the whole set at once. There are no doors to hold open and no drawer to support while taking out the products.
Forest green gives the exterior a restrained appearance, while the ivory insert makes the amber bottle easy to see. A small gold MTT mark sits in the centre of the lid. Keeping the decoration concentrated in one place leaves the paper texture and proportions visible.
MTT packaging design study. The three views show the opening, the product layout and the folded insert detail.
02
A PR kit packaging design checklist starts with the contents
The tube sits on the left, the dropper bottle in the centre and the cream jar on the right. Their different shapes determine where the insert needs support and where it needs to leave room for fingers.
Component details to include in the sample brief
Component
Position
What to specify
Capped tube
Left channel
Finished length, width and depth, including the cap and sealed end
Dropper bottle
Centre channel
Capped length, maximum body diameter, filled weight and label position
Cream jar
Right recess
Maximum lid diameter, capped height and filled weight
Introductory card
Position agreed during sampling
Finished size, paper thickness, artwork revision and any folds
The set contains three products and one card. Tissue, a protective sleeve or an instruction leaflet would add another line to the packing list. Decide their positions before the artwork is final.
Adding the three product widths does not give the finished internal box width. Insert folds, separating walls and removal access also need space. The internal and external dimensions guide explains which measurements belong on the box specification.
03
An ivory paperboard insert with separate support zones
The insert uses folded paperboard walls to separate the three products. The tube and bottle lie in lengthwise channels; the jar sits on its base in a shorter recess. That arrangement creates a clear left-to-right layout without forcing three different shapes into identical openings.
Rounded access cut-outs interrupt the straight edges of the channels. Their job is practical: let fingers reach the product body. On the dropper bottle, the grip should be around the bottle rather than relying on the bulb or cap. Around the jar, check that the box wall does not block the removal path.
Support depth matters as much as the overhead layout. Review the base beneath each item, the height of the surrounding paperboard and the clearance below the closed lid. The lid should close without pushing a product downward.
Choose the board grade after reviewing filled weights, contact surfaces and the complete shipping pack. For material alternatives, use the packaging insert material guide.
04
Green wrapping paper and a restrained gold detail
The finish direction combines a low-sheen green wrap, an ivory insert surface and a small gold logo. The broad lid panel gives the logo room without adding a large printed pattern. The base uses the same exterior colour so the set remains visually consistent after opening.
For sampling, specify the wrapping paper and gold-foil reference separately. Check the logo on the intended textured surface, especially the fine letter edges. Review the wrapped corners and the inside turn-ins on an assembled box; a flat paper swatch cannot show those details.
The insert should also be reviewed against the actual product decoration. Check for marks on the amber bottle label, the tube surface and the jar lid after packing and removal. Use the finish approval guide to define the surface checks with the converter.
05
Trial one packing sequence, then reverse it
Use this sequence for the first packing trial, then adjust it around the actual components.
Place the insert in the base and check that its folds are seated.
Load the tube into the left channel without forcing the sealed end.
Seat the dropper bottle in the centre, checking that the support contacts the intended body areas.
Place the jar on the right and confirm that fingers can reach its sides.
Check the product count and selected card revision. Trial the card above the insert, then review whether a separate pocket is needed.
Close the lid gently. Investigate any resistance instead of pressing it flat.
Now unpack the set. Can a recipient remove the bottle without pulling on the bulb? Can the jar be lifted without first removing the tube? Record the specific obstruction and adjust that part of the insert. A beautiful overhead layout is not enough if the first product is awkward to remove.
The card is shown beside the box. During sampling, compare placing it above the insert with giving it a dedicated lid pocket. If a lid pocket is introduced, its added thickness and attachment become part of that review.
06
Keep variants visible to the packing team
If a second launch replaces the jar with a taller container, retain the outer box only if the revised sample supports it. Sharing an exterior does not mean sharing every cavity. Identify each insert and packing instruction by kit version.
Changes that require another check
Change
Review before approval
Different bottle cap
Capped length, closure clearance and removal grip
Jar removed from a smaller set
Empty-space presentation, containment and the revised insert
Extra booklet
Stack thickness, lid closure and the packing order
Different destination campaign
Card language, product assortment and packing-list revision
The detailed question of sharing one box across multiple assortments belongs in the shared-box guide. Here, the final packing instruction should make it easy to see which components belong in this particular kit.
Before approval, record the assembled kit, accessory positions, outer carton and protection materials together. Keep visual approval separate from shipping evaluation in the sample approval checklist.
08
Prepare the sample brief
The next useful deliverable is a plain sample with the real products. Confirm finished dimensions and filled weights, choose the card location, and agree the support and removal checks. Only then finalise the green wrap, ivory insert surface and logo decoration on an assembled decorated sample.
Compare opening structures on the gift set and PR kit packaging page. The detachable lid suits a full-set reveal. If the brief calls for a staged opening, review the layout alongside the alternative structure.
From guide to product
Compare packaging for your brief
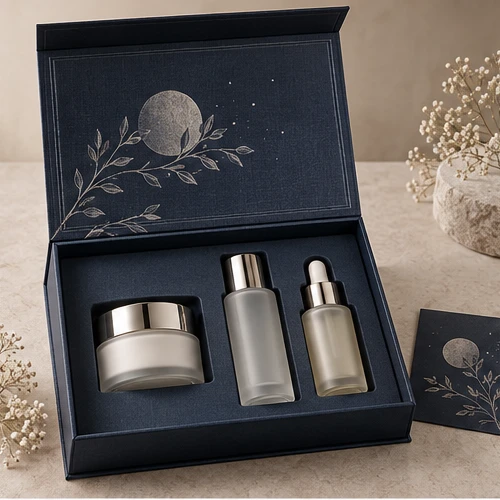
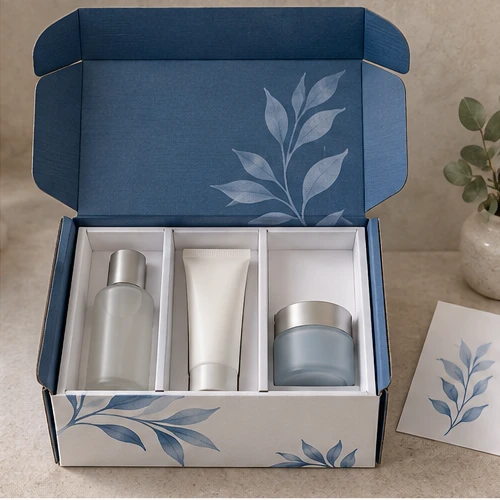
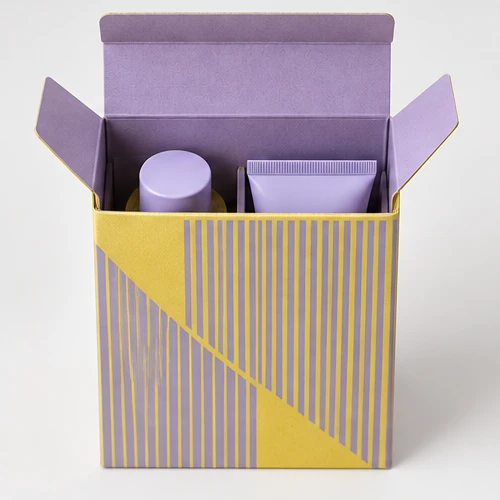
Explore the opening, material and insert details for each design. These are options to review, not proof of a tested fit for your product.

 Bank Transfer
 PayPal