QR Code Size on Packaging: Approve the Printed Pack
Quick answer
Choose QR code size on packaging from the actual encoded symbol, the printed module size and the space around it. Keep a clear border four modules wide on every side of a standard QR Code. Then check the finished, assembled package with the intended phones or scanners. A dimension that works on an uncoated proof may need revisiting after the board, ink, varnish or panel position changes.
By Hugo He · Custom Packaging Consultant, MTT Packaging · Updated 2026-11-05
Packaging design reference. Final fit, materials and finish are confirmed on an approved sample.
At a glance
Calculate QR code space including its quiet zone, choose a carton panel and approve scanning on the finished printed pack.
A module is one square in the code. The designer needs the count of modules across the generated symbol and the proposed physical size of each module. DENSO WAVE specifies a four-module quiet zone on every side. The reserved square therefore measures (module count + 8) × module size. Keep nearby artwork out of that complete square.
An illustrative 29-module symbol using 0.5 mm modules occupies 18.5 mm including its border: (29 + 8) × 0.5. This is a layout calculation, not a minimum size or scan-performance approval. Generate the final destination code first; a different payload or error-correction choice can change the symbol.
DENSO WAVE explains that module size must suit both printing resolution and the reading device. A higher-resolution output device does not establish what a customer's phone can read. Ask the converter to review the final-size file and print method before the designer reduces the symbol to fit a narrow panel.
Keep the code as vector artwork where the workflow permits. Avoid stretching it independently in one direction or placing it over a photograph. For a proposed small size, supply a larger comparison version on the same proof so the buyer can compare their behaviour under the same conditions.
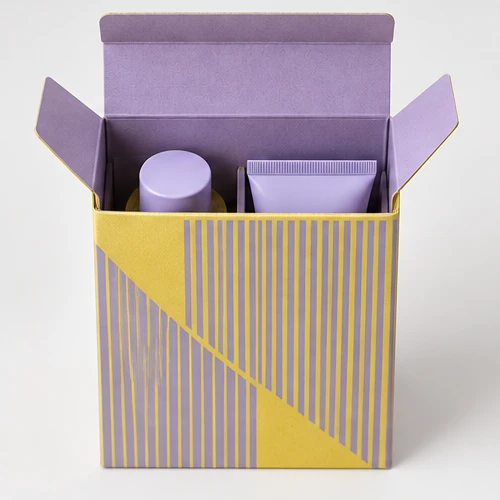
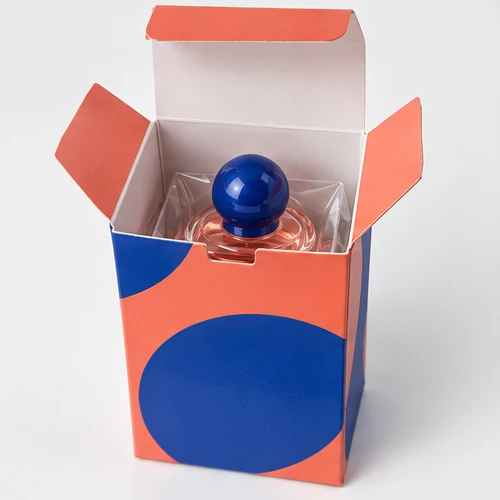
The pictured MTT skincare bottle folding carton is a design reference for panel planning, with no QR code shown. It provides a useful layout reference: a top tuck flap, dust flaps and a glued side seam surround the display panels. Start by identifying a flat panel that remains visible after closing the carton. Mark the code's complete reserved square on the dieline, including the quiet zone. Keep that square away from the fold, joint and any label that the packer adds.
Check the code on the erected carton with the product inside. A flat proof cannot show whether the closing flap hides part of the code or whether an applied security label crosses its border. If the available panel is too narrow, ask whether a shorter controlled destination URL or a different panel provides more usable space before reducing the module size.
Holmen describes how gloss depends on the surface and coating system and recommends checking ink and varnish compatibility. Carry the specified finish into the code sample. For a reflective finish, compare scanning under ordinary store lighting and at more than one viewing angle. If glare interferes, evaluate a different finish or a reserved print area with the converter. Record the chosen combination instead of approving a finish by name alone.
A code that opens on a monitor verifies the destination and the digital graphic. It does not approve ink spread, the converted surface or the customer's viewing conditions. Retain the printed sample with its artwork revision and finish specification.
Code is obscured or reading depends on avoiding normal handling
Reading check
Devices, lighting, viewing positions and observations
Results fail the agreed use conditions
Change control
Approved sample and revision
URL, stock, finish, placement or symbol changes
Set acceptance conditions with the buyer before running the checks. Keep device observations separate from any formal barcode verification requirement imposed by a retailer. Do not label a phone scan as a certification.
06
Keep the destination useful after delivery
Use a page controlled by the brand and assign someone to maintain it. Confirm the language and whether the content is available without an account. Test the final printed code against that destination before release. If using a redirect, check the redirected page as well as the first URL and record who can change it.
From guide to product
Compare packaging for your brief
Explore the opening, material and insert details for each design. These are options to review, not proof of a tested fit for your product.



 Bank Transfer
 PayPal