In this guide · 6 sections
- Agree what must be scanned
- Reserve an accessible flat area
- Proof the actual material and finish
- Distinguish a scan from verification
- Add the barcode to the purchase brief
- Sources
91 / Retail Packaging Artwork
Quick answer
Reserve the retail barcode on the assembled package early, before decorative artwork and finishing are locked. Confirm the symbol and data with the brand and retailer, leave the required clear space, and assess a printed sample in its final position. A phone scan is useful for a quick check but does not replace the verification required by a retailer.
 By Hugo He · Custom Packaging Consultant, MTT Packaging · Updated 2026-11-15

At a glance
Plan a scannable retail barcode on a finished gift box, with clear space, suitable contrast and verification of the printed pack.
Ask the brand owner and retailer which product identifier, barcode type and retail scanning environment apply. Do not create or allocate a product identifier from a packaging photograph. Confirm who supplies approved barcode artwork and who checks the encoded data. A consumer-facing QR link and a retail product barcode may serve different purposes; placing one does not automatically satisfy the other. For a marketing QR code, see the QR code sample checklist.
Choose the barcode position on the assembled box, not just the flat dieline. Check whether a flap, seam, fold, retail sticker or wrapping will cover it, and whether the cashier can reach the symbol without opening the pack. The folding-carton image is a design reference; the actual barcode position must be approved on the project’s artwork and finished sample.
GS1 identifies clear quiet zones, sufficient contrast, symbol size, placement and print defects as factors in barcode quality.[1] Reserve the clear area for the chosen symbol and application using the applicable specification. Avoid putting a foil border, pattern or dieline fold into that area.
Dark bars on a light background are a straightforward starting point. Ink, substrate colour and finish can alter the appearance of the printed symbol, so ask the printer to make the review sample using the proposed production route. Test glossy or reflective surfaces under the actual scanner conditions and consider a dedicated light panel or label when a decorative wrap does not provide reliable contrast. Confirm any changes with the brand before altering the artwork.
Check the smallest version when the same design is adapted across sizes. Resizing artwork can also reduce the barcode and its clear space; keep a controlled barcode layer and confirm the final physical size against the retailer’s requirements. See the artwork preflight guide for the broader approval process.
A successful phone or handheld scan shows that one device decoded one example under those conditions. It does not establish print quality across the production run. GS1 describes use of a compliant barcode verifier for measuring print quality.[2] Ask the retailer what verification method, grade and reporting it requires, and arrange that check with the printer or a qualified provider when needed.
Review several representative samples from the intended production process. Record the artwork version, substrate, finish, position, encoded data, device or verification method, result and corrective action. If the material, print process, scale, finish or placement changes, decide with the retailer and verifier whether to repeat the assessment.
For a carton structure, use the skincare folding carton reference to discuss panel layout, then assess the barcode on the actual assembled sample. Keep text legibility and regulatory label review separate from the barcode check.
From guide to product
Explore the opening, material and insert details for each design. These are options to review, not proof of a tested fit for your product.
Folding cartons · Tuck-end carton
Direct print on paperboard
View structure & details →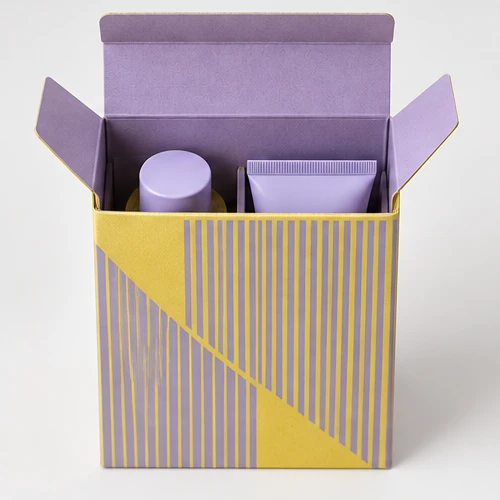
Folding cartons · Crash-lock bottom carton
Uncoated kraft paperboard
View structure & details →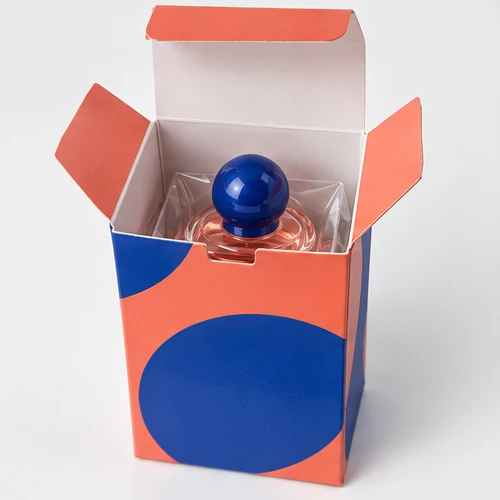
Folding cartons · Tuck-end carton
Coated folding boxboard
View structure & details →Payment Options
Available for confirmed production orders.
Available for eligible payments.
Available payment methods may depend on order value, project stage and transaction arrangements confirmed with MTT Packaging.
 Bank Transfer
 PayPal