For handmade glass, design the insert around measured variation rather than one nominal size. Identify safe support areas, leave fragile features clear and evaluate several representative pieces. A tighter cavity can create pressure instead of protection. Choose the material and support geometry together, then assess the complete presentation box and shipping pack with the actual products.
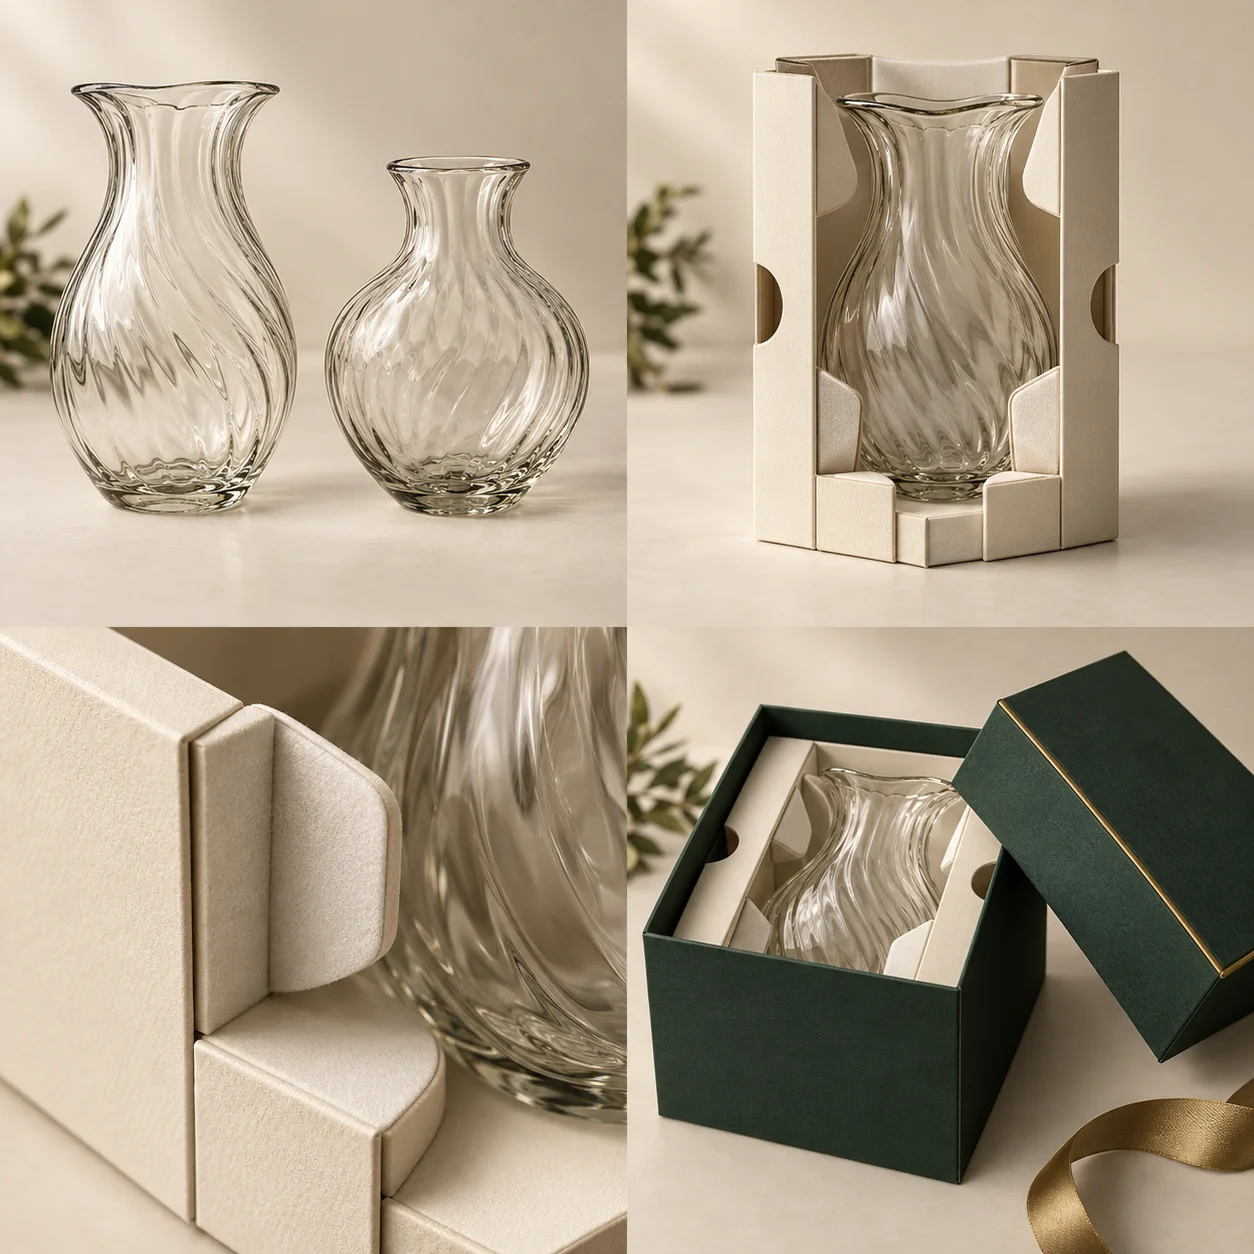
Four stages explain the product requirements, structure and finishing choices. AI-generated visualizations; final construction and finish are confirmed through physical sampling.
01 · Product requirements
Measure several handmade pieces: size variation matters as much as the nominal dimensions.
02 · Structure direction
Explore a paper support cradle with clearance around fragile glass and space for fingers.
03 · Materials & finishing
Review the folded support tabs and product-contact surfaces on a physical sample.
04 · Complete packaging presentation
Review the vase, insert and outer box together; confirm transport protection separately.
01
One measurement is not a fit envelope
Measure more than one piece of each model, including the widest body, base, rim and any handle. Record which features vary together. A maximum width paired with an unrelated maximum height is useful as an envelope, but actual samples are still needed to understand the shape. Do not infer this range from product photographs.
02
Choose where load may be carried
We would start with stable base and broad body contact, while keeping a thin rim or decorative protrusion out of the load path. A support that avoids one fragile point may create another at a narrow edge. Mark permitted and restricted contact areas on photographs before asking for an insert design.
03
Compare fixed and accommodating supports
A tight rigid opening may reject a larger piece. A folded support with controlled flexibility may accept variation, but still needs enough restraint for the smallest piece. A shaped fibre or foam support offers a different contact surface and production route. Compare these using the same measured range rather than ranking materials by touch. See the insert material comparison.
04
Check removal as well as retention
Leave access for fingers without requiring a user to lever against a handle or rim. If a liner covers the support, test the final covered form because it changes friction and cavity size. Inspect contact marks after repacking. A sample that can be loaded only by one experienced person may be unsuitable for the intended packing team.
05
Use a repeatable sample record
Identify each test piece and its dimensions.
Record the insert material and revision.
Check rocking, rotation, removal and lid clearance.
Record visible marks and unsupported features.
Agree transport checks for the complete packed unit.
This is a development approach, not a report of a completed customer order. The sample approval guide explains how to record the result.
From guide to product
Compare packaging for your brief
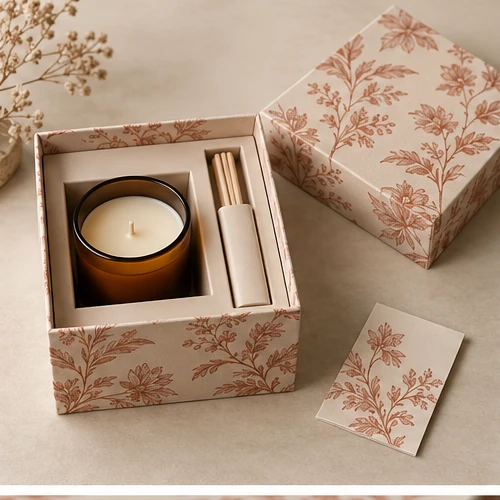
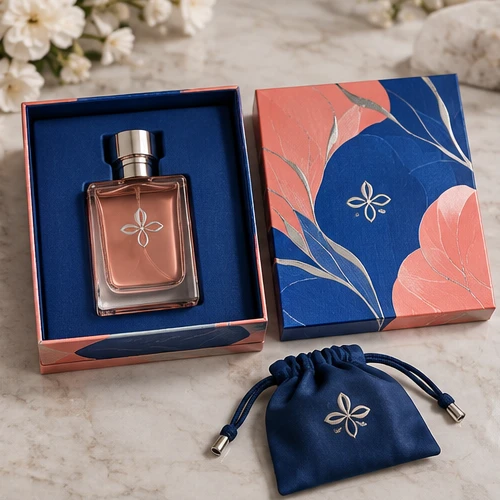
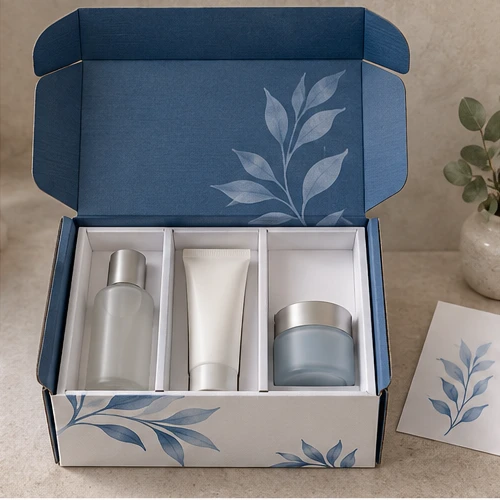
Explore the opening, material and insert details for each design. These are options to review, not proof of a tested fit for your product.
 Bank Transfer
 PayPal