Jewellery Box and Earring Card: Align a Custom Logo Before Print
Quick answer
The same logo file can appear different on a textured box wrap and a smooth earring card. Decide which surface carries the main brand mark, share production-ready artwork, and compare finished physical samples. Confirm placement relative to the earrings, card slot and box opening before approving the print run.
By Hugo He · Custom Packaging Consultant, MTT Packaging · Updated 2026-11-18
Packaging design reference. Final fit, materials and finish are confirmed on an approved sample.
At a glance
Coordinate artwork, material and proof approval for a jewellery box and its removable display card.
Mark where the customer first sees the box, then where the card appears when the lid opens. A box lid can carry a larger mark while the card may need a smaller mark that remains visible beside the jewellery. Leave practical space for holes, tabs, product and any required retail information; the designer and converter should confirm the actual dieline.
02
Describe the artwork and finish separately
Provide vector artwork where available, the intended colour, approximate placement and reference sample. Identify whether the box and card use the same print process or different finishes such as ink and foil. Discuss fine lines, paper texture and edge proximity with the converter; a screen rendering cannot establish final registration or legibility.
The blind-deboss guide covers a particular finishing process; this guide deals with the two-component layout and approval.
03
Check the card with the actual earrings
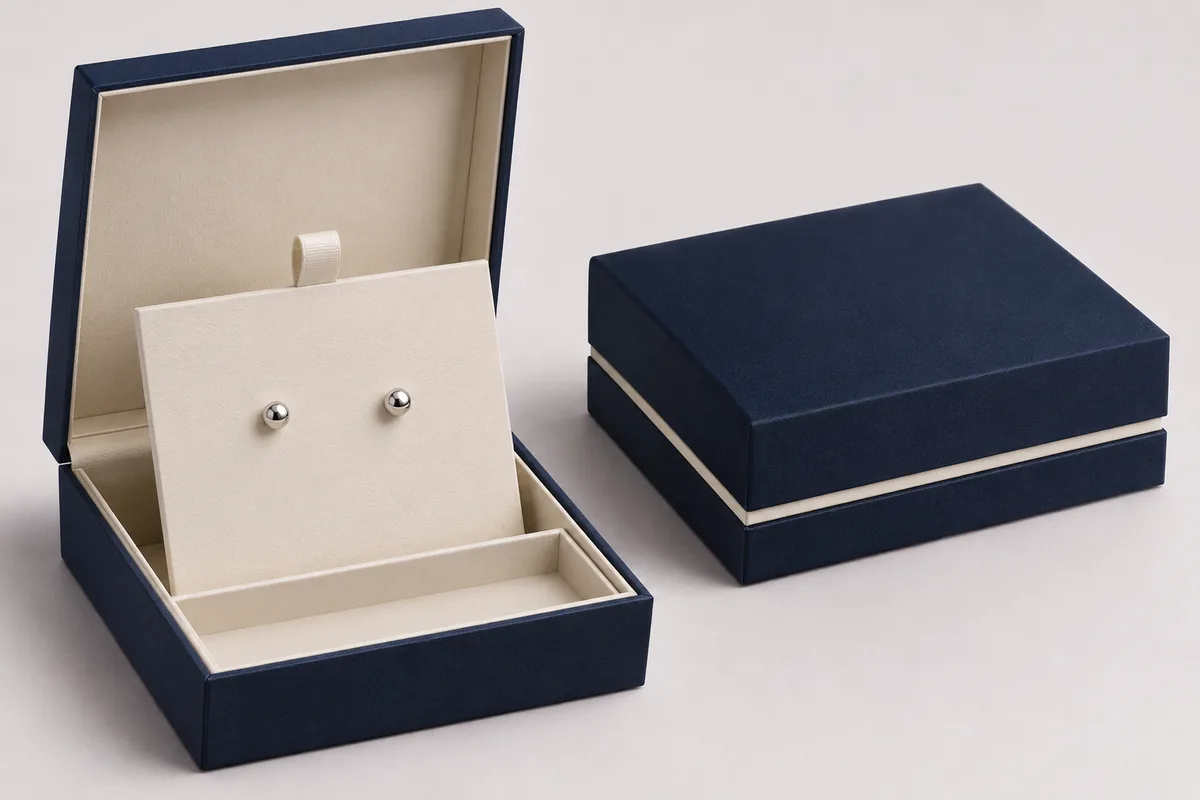
Load the earring card with the real posts and backs. Check that the product does not obscure the logo, that a hole or tab does not cut into the artwork and that the logo remains upright when the card is seated. Try removal without touching the decorated face unnecessarily. Confirm the depth behind the card separately in the earring clearance guide.
04
Approve one reference for each surface
Ask for the chosen box wrap and card material in the same proof review. Record the artwork revision, substrate, finish and agreed reference under consistent viewing conditions. If a material or finish changes, check the affected component again. A matching digital colour value alone is not evidence that two different surfaces will look identical.
If a barcode or QR code is required, reserve its quiet zone and check it on the finished print; GS1 notes that contrast, surface and surrounding graphics affect 2D symbol readability.[1]
05
Request an itemised quotation
Send the box concept, card size, jewellery dimensions, logo artwork, quantity per design and destination. Ask for box, card, print or foil tooling, sample and optional bag costs separately. MTT projects start at 1,000 boxes per design; colours, logos and materials remain customizable.
06
Compare physical proofs with a shared record
Illustrative example: the same gold artwork is applied to a textured navy box and a smooth ivory card. The team agrees which component is the visual reference, reviews both under the same light and records the approved foil and paper combinations. The process does not promise an identical appearance on different materials.
Mark the earring holes, card edge and any tab on the proof. When the card is seated, a hole position or product can cover a logo that looked centred in a flat file. Keep the physical approval sample and final file revision together; ask how a change in card supplier, finish or artwork will be communicated before reorder.

 Bank Transfer
 PayPal