In this guide · 6 sections
- Identify where the defect appears
- Board, grain and crease belong in one brief
- Compare samples without changing everything at once
- Review the artwork on the finished material
- Approval and change control
- Sources
89 / Folding Carton Engineering
Quick answer
When colour breaks along a folded carton edge, first record the board grade, grain direction, artwork coverage and exact crease. Review the conversion setup with the supplier and compare a physical sample in the intended folding sequence. A change to one material or finish can change the result, so approve the complete specification together.
 By Hugo He · Custom Packaging Consultant, MTT Packaging · Updated 2026-11-14

At a glance
Diagnose cracking at folding carton creases through board, grain, artwork and sample checks.
Mark the affected fold on the approved dieline and photograph it before and after assembly. Note whether cracking appears through solid ink, a coated surface or the underlying paper. Record the exact folding direction and whether the line is folded once during packing or repeatedly by the user.
The skincare folding carton is a reference for discussing the relationship between printed panels and closure folds. The image does not establish its board grade or demonstrate a defect.
Specify a named board grade and its thickness as well as grammage. Paperboard Packaging Council explains that stiffness varies between machine and cross directions and with moisture; scoreability describes the ability to fold cleanly without surface fracture.[1] This does not mean one direction is universally correct for every design. Ask the converter to show the intended grain direction on the layout and review the fold in that orientation.
| Variable | Keep or record | Review |
|---|---|---|
| Board | Grade, caliper and grain | Surface condition after folding |
| Crease | Tool and matrix specification | Clean fold and edge fracture |
| Artwork | Ink coverage and finish | Visible breaks on dark areas |
| Assembly | Fold direction and sequence | Closure fit after actual packing |
Fedrigoni and CITO publish crease-setting guidance for specific named SYMBOL PACK grades. Treat their values as grade- and equipment-specific references, not default settings for an unrelated board.[2] The converter should select and test the actual tooling.
Dense dark graphics crossing a fold can make a small break more visible. Check whether a design adjustment away from the fold is acceptable, and compare the printed and finished sample at normal viewing distance. Do not judge a crease from a digital proof or an unprinted dummy alone. The artwork preflight guide covers file handoff; this article addresses the physical crease decision.
Request a sample made with the intended stock, grain direction, print, finish and die process. Assemble it around the actual product, document the accepted appearance and retain its specification and revision. If the board or finish changes, ask whether the crease requires a fresh sample. For structure and closure options, review the folding carton procurement page.
From guide to product
Explore the opening, material and insert details for each design. These are options to review, not proof of a tested fit for your product.
Folding cartons · Tuck-end carton
Direct print on paperboard
View structure & details →
Folding cartons · Tuck-end carton
Coated folding boxboard
View structure & details →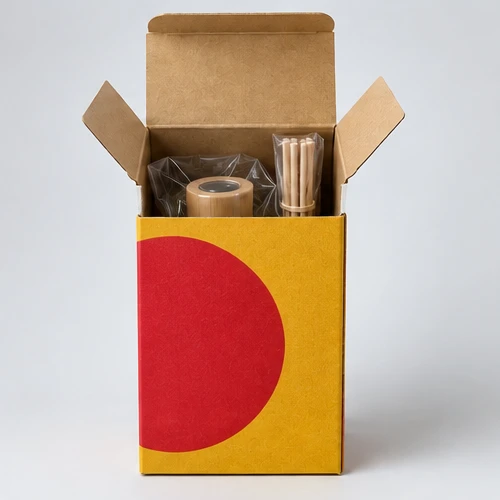
Folding cartons · Tuck-end carton
Uncoated kraft paperboard
View structure & details →Payment Options
Available for confirmed production orders.
Available for eligible payments.
Available payment methods may depend on order value, project stage and transaction arrangements confirmed with MTT Packaging.
 Bank Transfer
 PayPal