In this guide · 7 sections
- Measure the complete bottle
- Choose support before shaping the cavity
- Use the actual sequence
- Define the next sample
- Prepare the request
- A fit decision under change
- Discuss the packaging brief
122 / Roller bottle packaging fit
Quick answer
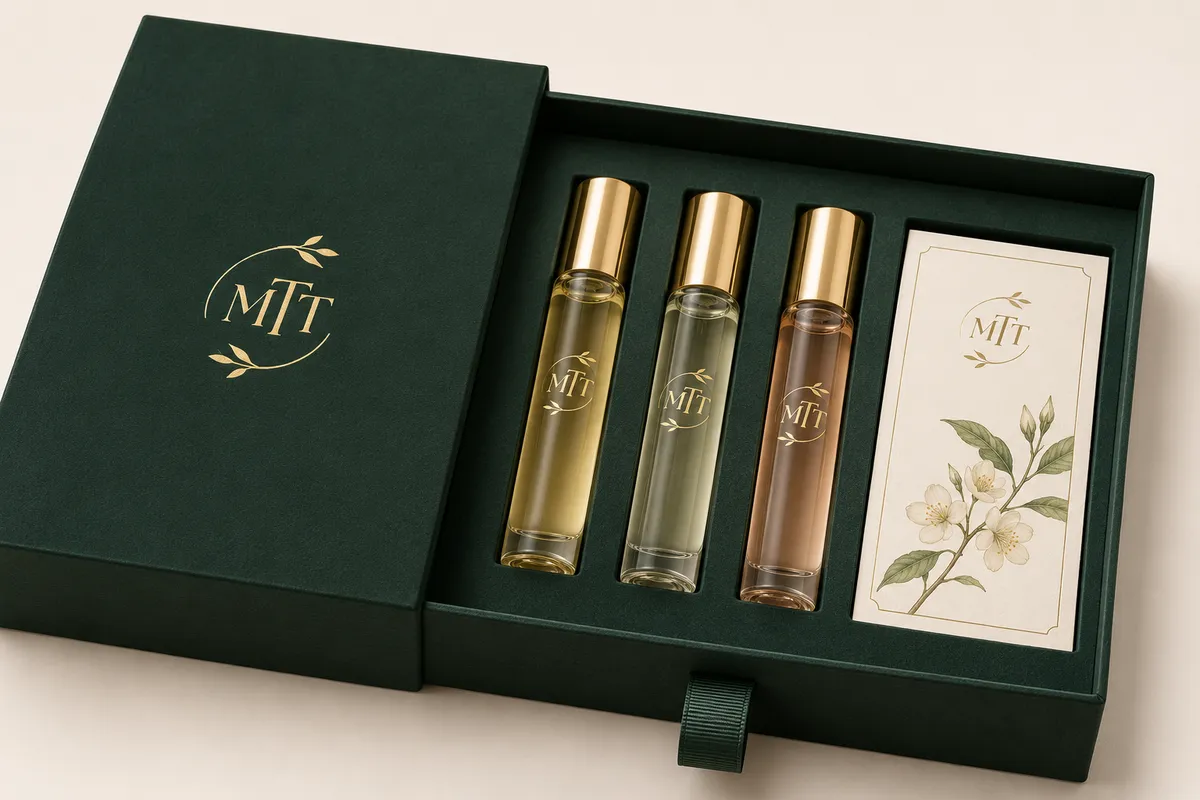
A three-bottle drawer needs controlled bottle support and space for fingers to remove each vial. Measure the assembled bottles and cap diameters, map contact points, then review the loaded insert and sleeve with physical samples. The example layout is an illustration and its final construction depends on the actual products.
 By Hugo He · Custom Packaging Consultant, MTT Packaging · Updated 2026-11-20
At a glance
Plan bottle support, cap clearance and removal access for a three-roller perfume drawer box.
A bottle drawing can omit the installed cap, label overlap or decoration. Record the longest finished bottle, widest cap or shoulder, base shape and filled weight for every variant. Mark the surface that cannot rub. Ask the bottle supplier for dimensional ranges where available, then give the insert supplier a set of representative samples.
Support the bottle body at areas approved by its owner. A deep recess can hold a vial visually but hide the only practical grip. Sketch where a finger can enter and where the bottle pivots during removal. Review the card separately so its edge does not trap a bottle or enter the sliding path. Avoid assuming the printed image identifies the insert substrate.
Load the heaviest filled variant first, slide the tray through the sleeve, remove the centre vial and then replace it while neighbouring bottles remain in place. Observe cap movement, contact marks and whether the insert rises with the vial. If the tray binds, compare the insert, tray outside and sleeve opening before changing several dimensions at once.
Give each sample a revision and record the bottle, insert, sleeve, artwork and card used together. A visual fit review does not validate parcel shipping. Agree the whole packed system and intended distribution route with the shipping team. ISTA describes tests as procedures for packaged products in defined distribution contexts. ISTA test procedures.
Send dimensions, filled weight, photos of sensitive surfaces, quantities and destination. Ask for a breakdown of shell, insert, card, artwork finishing, sample and freight. Compare alternatives on the same bottle and packing sequence, rather than comparing material names alone.
Illustrative scenario. A brand keeps the same vial body but changes to a wider cap after approving the first tray. The cap may be the controlling dimension at the sleeve entrance even if the bottle cavity still supports the body. Place the new capped vial in the approved sample, photograph the highest point and check it through the complete drawer travel. If it contacts the sleeve, record the exact sample revision and ask whether the tray, support height or sleeve opening should change. Check removal again after the chosen adjustment.
See the illustrative packaging concept and send the actual components for a project-specific review. Share dimensions, filled weights, artwork, quantity per design and destination with MTT. We can review a sampling brief for orders from 1,000 pieces per design.
From guide to product
Explore the opening, material and insert details for each design. These are options to review, not proof of a tested fit for your product.
Rigid gift boxes · Drawer box
Custom wrapping paper, colour and texture by sample
View structure & details →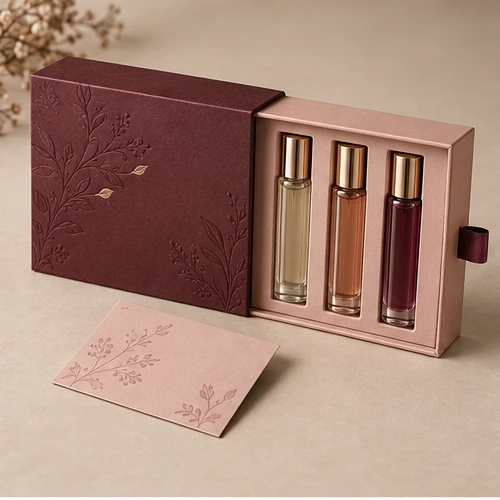
Rigid gift boxes · Drawer box
Smooth matte printed wrapping paper
View structure & details →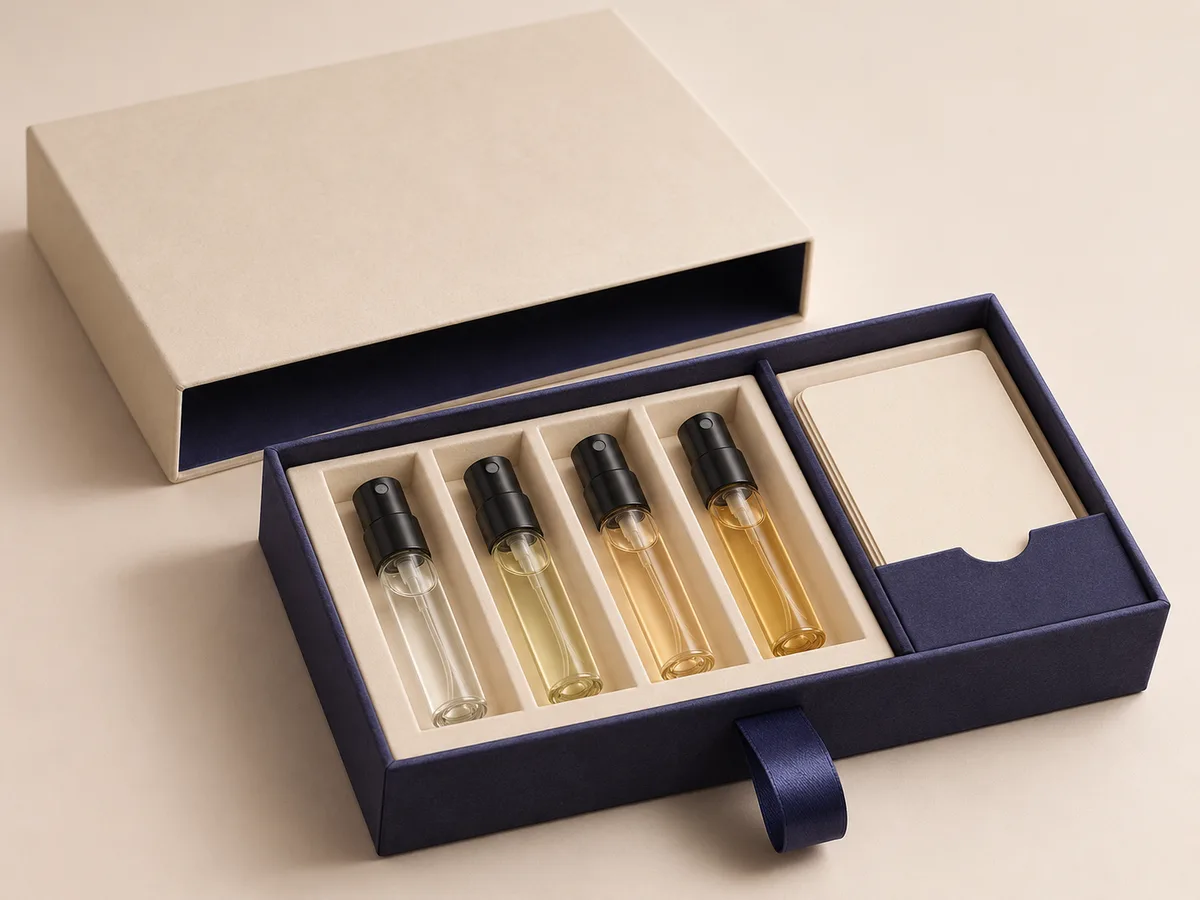
Rigid gift boxes · Drawer box
Wrapping paper; color and texture confirmed during sampling
View structure & details →Payment Options
Available for confirmed production orders.
Available for eligible payments.
Available payment methods may depend on order value, project stage and transaction arrangements confirmed with MTT Packaging.
 Bank Transfer
 PayPal