In this guide · 4 sections
- Start with the motif the shopper must see
- Trace the movement envelope
- Separate visibility from product protection
- Give the converter two controlled files
117 / Cosmetic packaging procurement
Quick answer
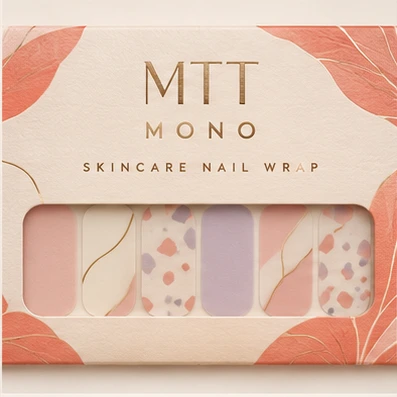
Before you approve the window die, move the smallest artwork motif to both limits of the carrier pocket. The window has to show the intended design even when the sheet shifts. Record the aperture, sheet position and pocket stops separately so a later artwork change does not quietly undo the fit.
 By Hugo He · Custom Packaging Consultant, MTT Packaging · Updated 2026-11-20
At a glance
Before you approve the window die, move the smallest artwork motif to both limits of the carrier pocket.
Lay the actual sealed sheet behind an opaque card with a trial opening. Mark the part a shopper needs to recognise: shade, pattern scale or finish. A centred window can still show half of two different wraps. Repeat with the busiest and sparsest designs, keeping the same outer carton.
With the sample closed, push the carrier gently left, right, up and down. Trace the visible area at each extreme on a spare sheet. The overlap is the dependable display area for that sample. If the desired motif falls outside it, try a folded stop before enlarging the cutout. A larger window also leaves less board at its corners.
An open aperture exposes the primary pack to handling. Review whether the actual wrap already arrives sealed. If the brand requests a window patch, ask for a patched sample and check glare, adhesive visibility and sheet insertion. Keep the primary seal intact throughout the review.
Send the carrier print file and carton dieline at the same scale, identify the front face and loading direction, and photograph both travel limits. Ask for separate prices for one common die and any shade-specific changes. Approve the loaded unit under the lighting used for shelf review.
Review the windowed nail wrap envelope alongside your actual components. See the cosmetic packaging specification guide for the dimensions and artwork needed for a quotation.
From guide to product
Explore the opening, material and insert details for each design. These are options to review, not proof of a tested fit for your product.
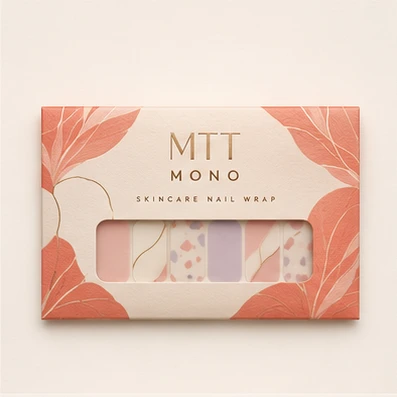
Folding cartons · Window envelope carton
Printable paperboard; surface and colour confirmed by sample
View structure & details →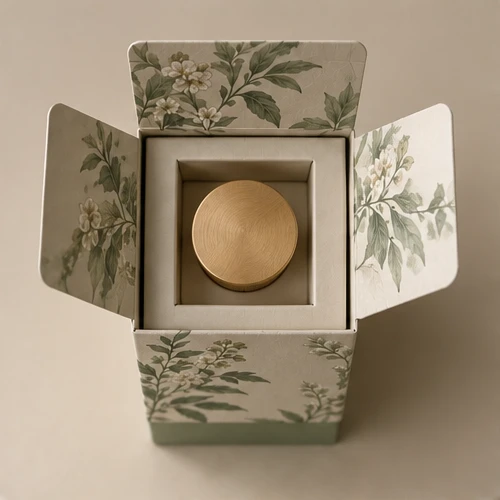
Folding cartons · Tuck-end carton
Direct print on paperboard
View structure & details →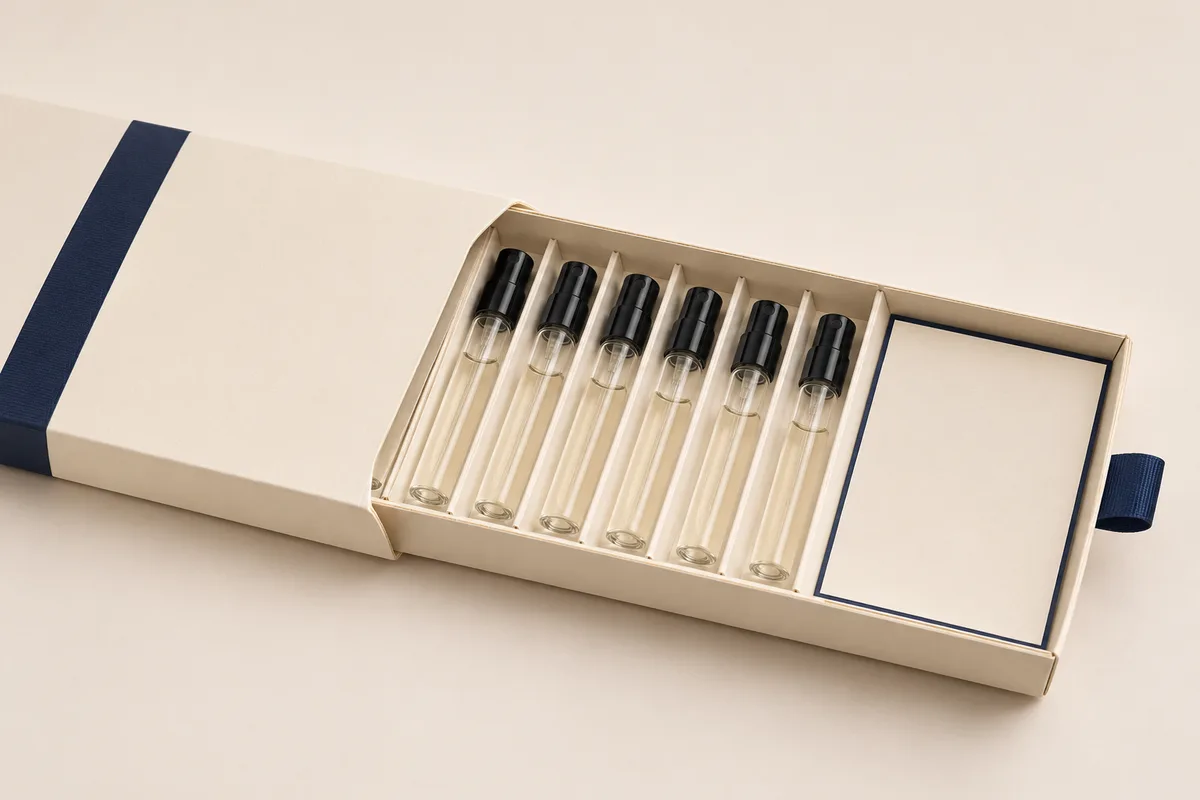
Folding cartons · Paperboard sleeve and tray
Printable paperboard; surface and colour confirmed by sample
View structure & details →Payment Options
Available for confirmed production orders.
Available for eligible payments.
Available payment methods may depend on order value, project stage and transaction arrangements confirmed with MTT Packaging.
 Bank Transfer
 PayPal