In this guide · 6 sections
- Start with the loaded product
- Treat the opening and wrapped lid as one assembly
- Choose the viewing treatment
- Check the insert, separation and shipping route
- Prepare a useful sample review
- Source
79 / Rigid Box Engineering
Quick answer
A rigid box with a window can reveal a product while keeping a presentation lid in place. Start with the loaded product and the view you need, then check the remaining lid frame, wrapped edges and any transparent panel together. Approve the assembled box, insert and intended shipping pack with the actual product.
 By Hugo He · Custom Packaging Consultant, MTT Packaging · Updated 2026-11-09

At a glance
Plan a viewing window in a rigid box: compare lid openings, panel attachment, product visibility and material separation before sampling.
The image above is a packaging concept illustrating a removable rigid lid with a viewing panel and a perfume bottle in a fitted insert. It does not represent a completed order or a tested construction. For an actual brief, place the filled product in the proposed insert and mark the area the buyer needs to see. Check label orientation, the view through the closed lid and the space needed to remove the product.
Decide whether the opening belongs in a detachable lid or a hinged cover. A perfume lift-off box illustrates the separate lid format; a window would be a new option to develop, not a feature claimed for that product. Compare the lid-fit guide when specifying the opening.
A cutout removes part of the lid panel. The effect depends on the aperture, remaining frame, board construction, lid depth and handling. Do not adopt a universal frame width from a different box. On a finished sample, inspect the narrow areas around the opening, the lid shape, and whether the panel or its edge catches the insert when the box closes.
Agree how the paper wrap finishes around the aperture. Ask the supplier to show the corner treatment and joint; inspect the actual sample for lifted wrap, uneven corners, adhesive marks or exposed board where a clean edge is required. Approve the opening and graphics on the same drawing revision.
| Option | Agree in the brief | Review on the sample |
|---|---|---|
| Open aperture | Exposed product and intended retail environment | Dust exposure, access and contact with the product |
| Transparent panel | Material, attachment, thickness and viewing area | Scratches, haze, adhesive marks and edge security |
| Closed lid with printed image | Image rights, colour and finish | Product recognition and print accuracy |
A clear panel can show scratches or adhesive. Define which face is towards the product, and check the loaded sample after the agreed packing and handling steps. For a different structure, compare the existing window folding-carton guide; a creased carton and a wrapped rigid lid have different construction details.
Keep the product in its intended position while the lid is closed. Review contact points, clearance at the panel and product removal with the actual product. The perfume insert guide sets out additional fit questions. A presentation window is not evidence that the complete package is suitable for parcel transport; agree the outer carton and assessment for the intended route separately.
Request the full material specification for the board, wrap, panel and adhesive. CEPI’s European paper-packaging guidance explains that combinations of paper and other materials can make recycling more challenging, and points buyers to local collection and assessment rules.[1] A component list alone does not establish that a finished box is recyclable in the target market; check the relevant local evidence before making a claim.
The sampling process guide explains how to document revisions and outstanding approvals. Keep dimensions, material choices and performance requirements specific to the project.
From guide to product
Explore the opening, material and insert details for each design. These are options to review, not proof of a tested fit for your product.

Rigid gift boxes · Lift-off lid
Gloss-laminated printed wrapping paper
View structure & details →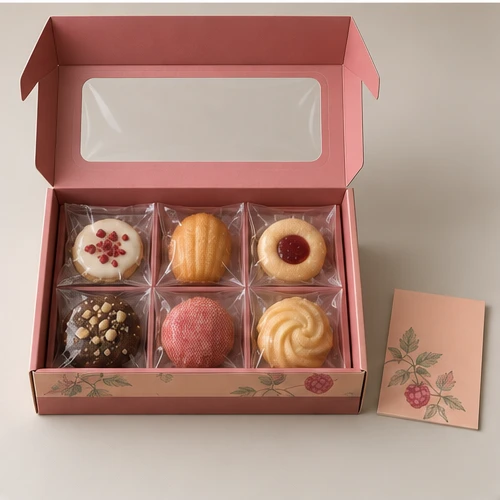
Folding cartons · Window tuck-end carton
Direct print on paperboard
View structure & details →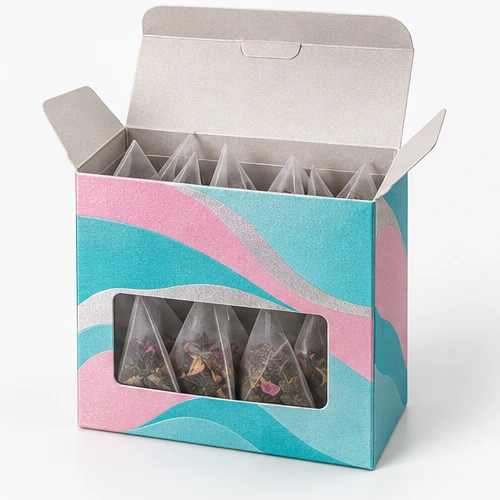
Folding cartons · Window tuck carton
Pearlescent paperboard
View structure & details →Payment Options
Available for confirmed production orders.
Available for eligible payments.
Available payment methods may depend on order value, project stage and transaction arrangements confirmed with MTT Packaging.
 Bank Transfer
 PayPal