In this guide · 4 sections
- Specify the shape in the right view
- Review curve, wrap and lid together
- Make the sample a decision tool
- Explore the structure
110 / Shaped Packaging
Quick answer
A half-moon box is defined by two matching semicircular pieces: a base and a separate lift-off cover. Begin with the product envelope and the way the buyer will remove the lid. A visually attractive curve does not by itself establish the internal space, lid fit or whether a curved wall can be wrapped neatly in the selected paper.
 By Hugo He · Custom Packaging Consultant, MTT Packaging · Updated 2026-11-18
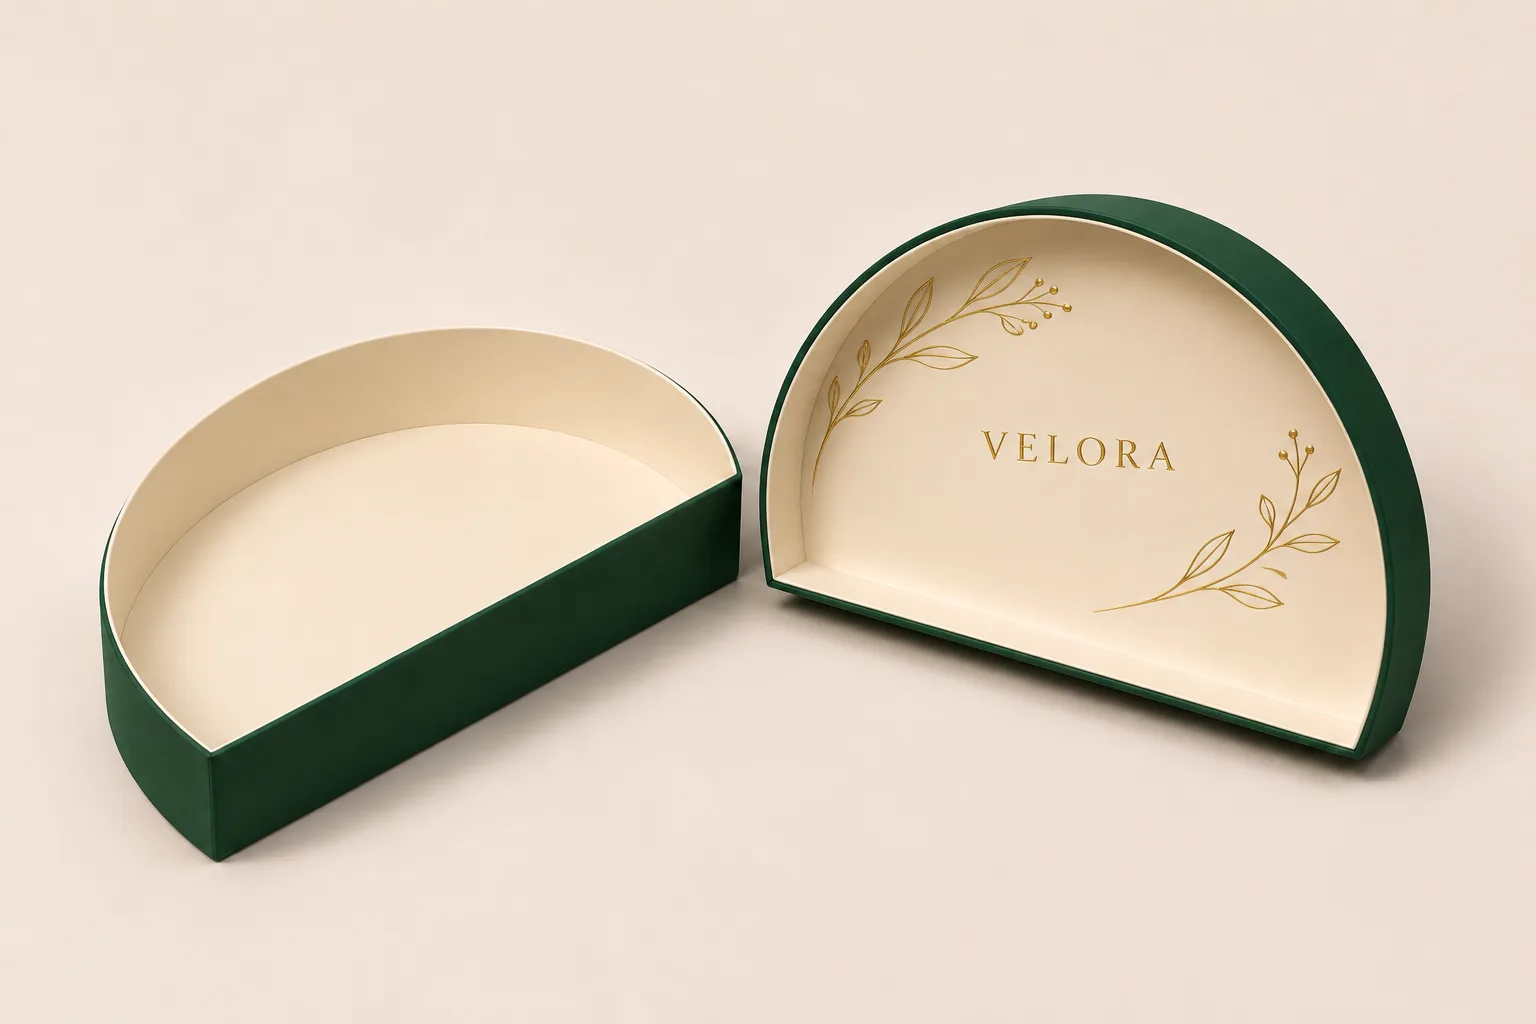
At a glance
Check how the lift-off lid seats along both the curved wall and the straight edge. Load the intended product and check that the lid lifts without binding.
Supply a front or plan view showing the straight edge and curve, then a side view showing box depth and cover height. Identify which dimensions describe the inside cavity and which describe the assembled outside. If an object or tray must fit, include its maximum envelope and the intended orientation. Do not substitute a circular diameter for a measured internal opening without checking board thickness, wrapping and the actual construction.
The buyer may want the finished box to stand on its flat edge for display. If so, state that requirement explicitly and evaluate stability with the actual contents, lid and display surface. A picture is not evidence that a loaded set will stand safely.
Ask the manufacturer how the selected wall and wrap will be formed along the curve, where the seam is expected and how the two ends meet the straight section. The cover and base must follow compatible curves without preventing normal removal. Thick or heavily textured wrap can change the fit and the appearance at the curved edge; inspect the proposed material in a production-representative sample before approving artwork.
Printed logos and foil require their own layout review. A mark placed across a curved transition may not read like a flat-screen mockup. Show the logo placement on an assembled sample, agree an orientation and inspect it in the viewing direction customers will use.
Test the empty lid first, then repeat with the actual insert and product. Record where the user grips the cover, whether the contents touch its interior and whether the base remains supported while the lid is removed. Review multiple samples when available and agree acceptance criteria with the supplier; no single lid clearance is appropriate for every board, wrap and size.
For delivery, specify whether covers and bases ship assembled, nested or separately, and how they are protected from abrasion. Use the loaded outer pack when assessing the appropriate transport-test plan. Quote the insert, finishes, tooling, samples and freight separately where applicable.
Brief for MTT: share a sketch, product measurements, planned standing or lying orientation, visual references, quantity and destination. Custom packaging starts at 1,000 pieces per design. The color images are concepts; final colors, branding and construction are developed to the customer's requirements.
Review the packaging concept and send the actual contents and specification for a sample review. Images illustrate concepts, not completed projects.
From guide to product
Explore the opening, material and insert details for each design. These are options to review, not proof of a tested fit for your product.
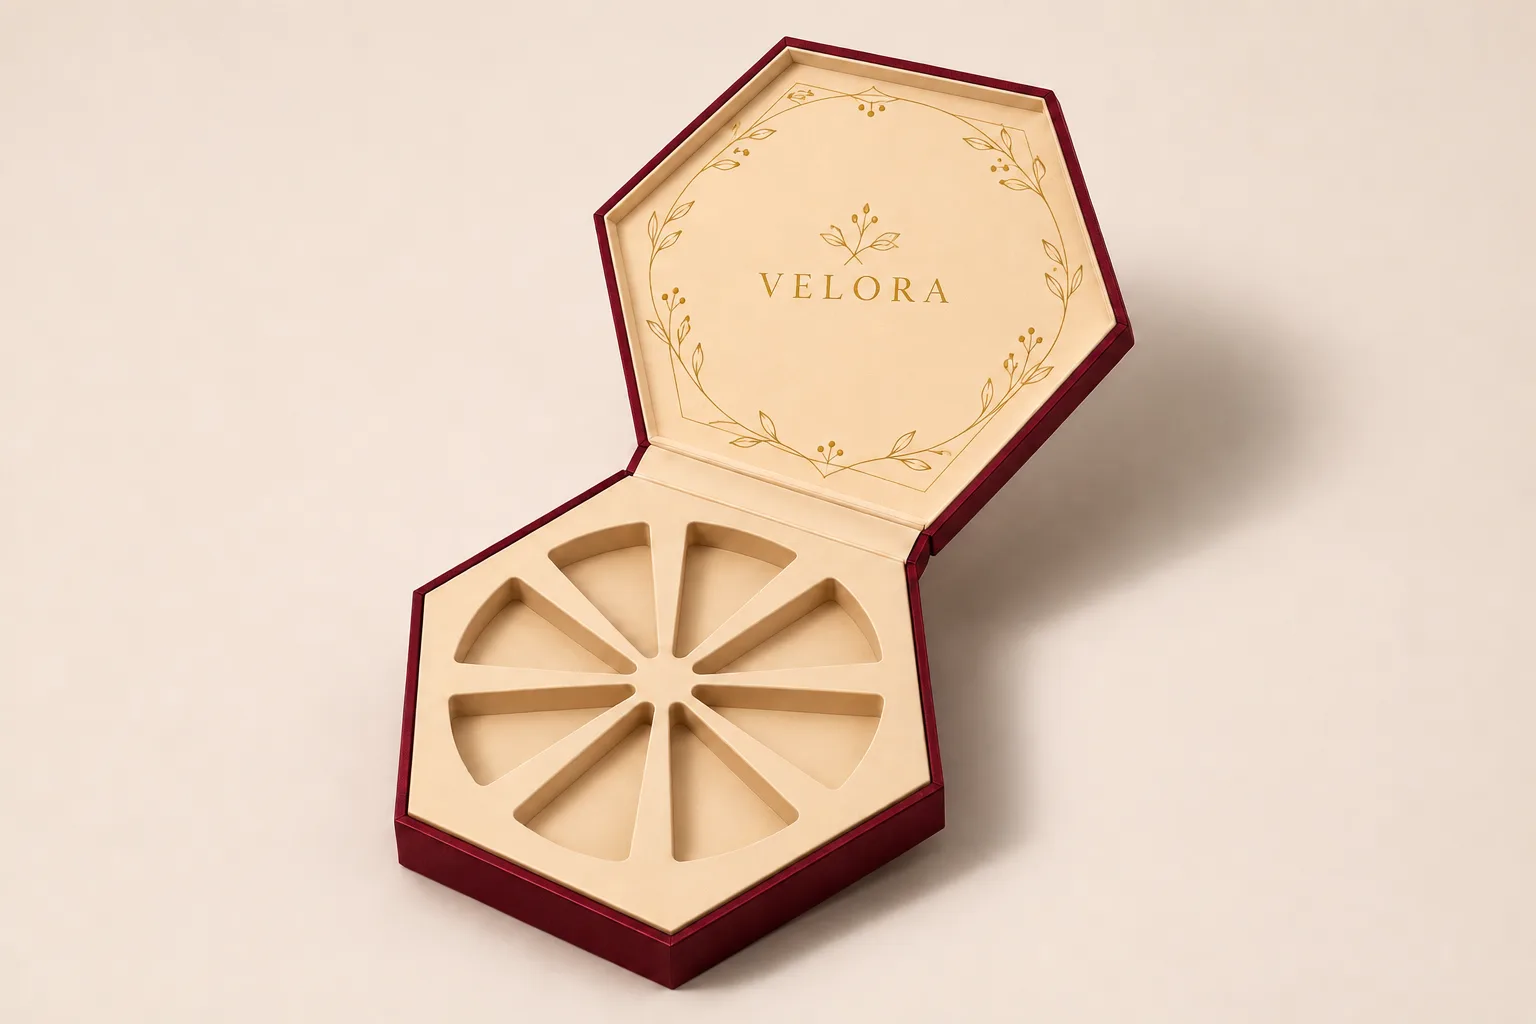
Rigid gift boxes · Book-style hinged box
Custom paper wrap; color confirmed by sample
View structure & details →Rigid gift boxes · Separate lift-off lid
Custom paper wrap; color confirmed by sample
View structure & details →
Rigid gift boxes · Hexagonal lift-off box
Textured dyed wrapping paper
View structure & details →Payment Options
Available for confirmed production orders.
Available for eligible payments.
Available payment methods may depend on order value, project stage and transaction arrangements confirmed with MTT Packaging.
 Bank Transfer
 PayPal