Small Electronics: Separate Product Support from Accessory Storage
Quick answer
For a small electronics kit, allocate product support and accessory storage separately before setting box depth. Keep pressure away from connectors, buttons and sensitive surfaces, and restrain cables so they cannot move onto the device. Compare the complete loaded layout. A decorative paperboard insert should not be assumed to meet device-specific electrostatic or transport requirements.
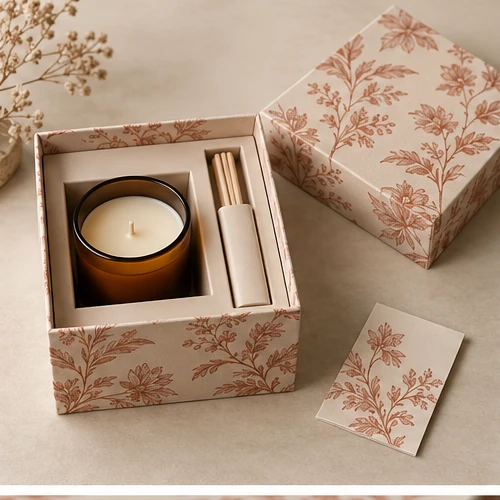
Four stages explain the product requirements, structure and finishing choices. AI-generated visualizations; final construction and finish are confirmed through physical sampling.
01 · Product requirements
Account for the device, cable and instructions before choosing the box depth.
02 · Structure direction
Separate the device platform from accessory storage and avoid pressure on controls.
03 · Materials & finishing
Review paperboard folds and tabs; appearance does not establish protective performance.
04 · Complete packaging presentation
Pack actual contents and confirm movement, access and shipping requirements.
01
Published reference
Metsä Board presents paperboard applications for consumer-electronics retail and e-commerce packaging. The reference supports considering paperboard as a packaging direction; it does not validate a particular device, insert geometry or transport test. Read the Metsä Board: Consumer electronics packaging.
02
The buyer’s challenge
A compact device, cable and booklet can make a box unnecessarily deep if they are stacked without a plan. Start with the product’s vulnerable areas and removal path, then allocate the accessories to a deliberate compartment.
03
Structure and material direction: our analysis
A folded platform can locate the device while a separate pocket stores the cable. Compare this with a molded insert when the shape is complex. Keep connectors, buttons and delicate surfaces away from concentrated pressure. Decorative papers should not be assumed to provide electrostatic protection.
04
What to check in sampling
Build a complete pack-out sample using the actual device, accessories and instructions. Check movement, cable restraint, removal access and repeated packing. Confirm any device-specific handling and transport requirements with the buyer before selecting a test plan.
05
Compare side storage with under-tray storage
A side pocket increases footprint but can make accessories visible immediately. Under-tray storage can keep the footprint compact, but adds depth and another removal step. Compare both with the actual cable bend and booklet thickness before choosing the external size.
06
Prepare a comparable quotation
Send product dimensions and weight, accessory list, sensitive surfaces, shipping channel and quantity. Ask the quotation to identify the outer package, insert, accessory compartment and shipping protection separately. Review insert selection.
07
Image and project credits
The four-stage images were generated specifically for this analysis. They illustrate a proposed direction and do not show the referenced brand’s packaging. Original project credit belongs to the creators linked above. No affiliation, manufacturing relationship or production performance is implied.
From guide to product
Compare packaging for your brief
Explore the opening, material and insert details for each design. These are options to review, not proof of a tested fit for your product.



 Bank Transfer
 PayPal