Collapsible Rigid Box Assembly: An MTT Perfume Duo
Quick answer
For collapsible rigid box assembly, confirm how the corners lock before installing the insert or loading the product. Review the empty shell, assembled geometry and complete loaded box separately. The MTT perfume duo shown here pairs a blue exterior with an orange interior and two bottle positions. Its flat view helps identify assembly questions; the approved sample must settle the fixing method, sequence and finished fit.
By Hugo He · Custom Packaging Consultant, MTT Packaging · Updated 2026-10-31
Packaging design reference. Final fit, materials and finish are confirmed on an approved sample.
At a glance
Plan collapsible rigid box assembly around corner fixing, insert installation and lid fit. Explore MTT’s perfume duo design and a practical sample checklist.
Read the empty shell before the finished presentation
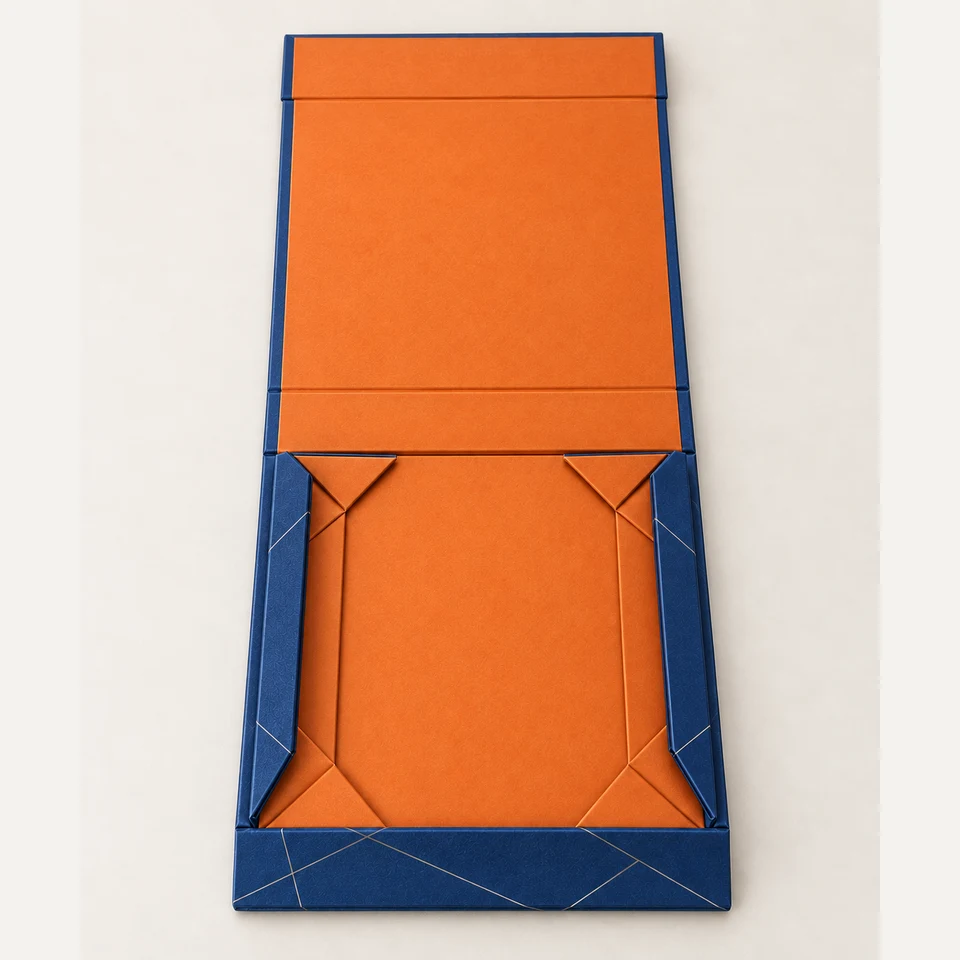
MTT-R1201: empty-shell view, with the bottle insert removed.
The flat view exposes the triangular corner panels that disappear beneath the insert in the loaded presentation. Check which panels move, which surfaces meet and where the assembler needs to apply pressure. A magnetic lid closure does not tell you how those corners are secured.
Request a fixing detail identifying any tape, adhesive, slot or other connection. If the chosen design uses a release liner, specify when to remove it and how to keep it away from the interior. Do not assume that a completed box can be flattened repeatedly: permanent corner bonds and reusable locking arrangements need different instructions.
Assemble the shell before using the insert as a brace
Place the empty shell on a clean, level surface and orient the lid away from the operator.
Raise the walls in the sequence agreed on the assembly drawing. Keep the wrapping paper clear of trapped corner folds.
Engage the specified corner fixings. Inspect every connection before covering it.
Compare the two diagonals and check the base sits flat. Record the agreed acceptance range on the sample sheet.
Install the insert, then load the two bottles and card.
Close the lid and reopen it to inspect clearance and product removal.
The sequence above is a review framework, not a verified work instruction for a particular adhesive. Stop if the insert is needed to force an out-of-square shell into shape. That can hide a corner or hinge problem until the box is loaded.
03
Confirm the bond on the actual finished surface
A smooth printed wrap, a coated flap and exposed board present different bonding surfaces. Ask the assembler which surface receives the fixing and whether print, foil or lamination crosses that area. Review pressure and any waiting time against the selected adhesive supplier’s instructions.
Henkel’s paper-converting guidance identifies substrate, coatings, equipment and storage conditions as variables in packaging performance. It supports checking the real combination; it does not supply a universal glue quantity or curing time for this box.
Keep a sample assembled using the intended materials and method. Note lifting corners, exposed adhesive, whitening at folds and wrap delamination. If a component changes, repeat the affected check rather than relying only on the old exterior appearance.
04
Check the loaded box without compressing the bottles
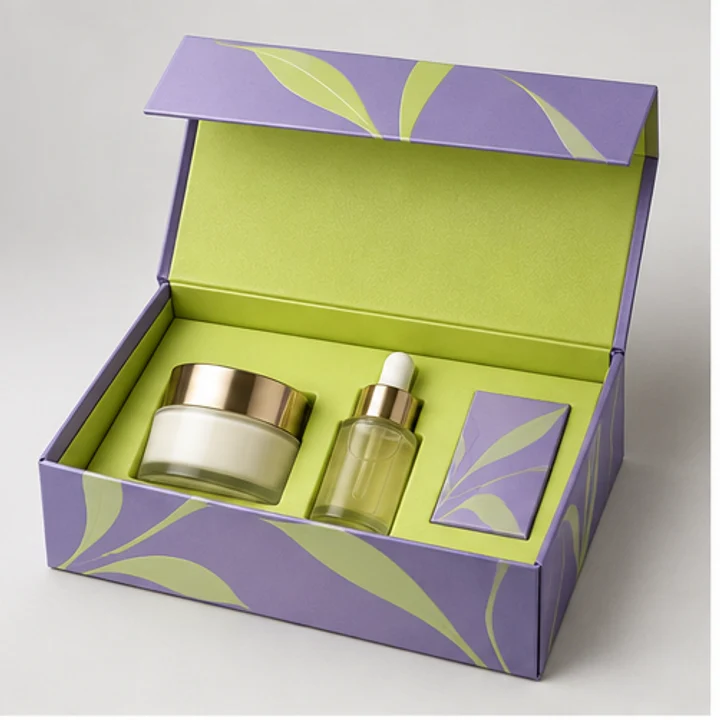
The orange deck has two bottle positions and a separate card area. Identify the support beneath each bottle; a neat visible opening is only one part of the insert. Confirm the bottle base sits on its intended support and that the card cannot slide into the hinge.
Close the lid with both finished bottles, caps and any tissue in place. If it closes empty but springs up when loaded, investigate the stack height before increasing magnetic strength. Inspect the necks, cap tops and lid lining for contact marks, then remove each bottle using the intended grip.
Keep this fit review separate from transport protection. Evaluate the loaded presentation box inside its specified outer package. Use the sample approval process to record the shell, insert and outer-pack versions together.
05
Make the packing instruction useful at the receiving site
Record who erects the boxes, where inserts are stored and when the products arrive. If cartons of shells and inserts travel separately, mark their matching references. Keep assembly photographs with the approved sample instead of relying on a verbal explanation.
Assembly approval record
Checkpoint
Record
Corner fixing
Method, position and material reference
Shell geometry
Finished dimensions and agreed diagonal check
Loaded closure
Bottle, insert and card versions used
Packing trial
Operator, conditions, observed rework and measured time
Measure assembly time during the trial if it affects the sourcing decision. Keep that result tied to the operator and setup; do not turn one trial into a universal output rate. A box that travels flat still needs a workable receiving-site process.
From guide to product
Compare packaging for your brief
Explore the opening, material and insert details for each design. These are options to review, not proof of a tested fit for your product.



 Bank Transfer
 PayPal