In this guide · 6 sections
- Measure the filled products
- Position the spout away from pressure
- Make removal a separate check
- Agree the outer packing route
- Send a useful quotation brief
- Sources
100 / Skincare Refill Kit
Quick answer
The bottle may be rigid, but a filled refill pouch changes shape when laid flat. Before artwork is locked, agree its filled state, the orientation of its spout and the surface that supports it. Check the complete loaded sample with the actual pump, card and intended outer shipping pack.
 By Hugo He · Custom Packaging Consultant, MTT Packaging · Updated 2026-11-17
At a glance
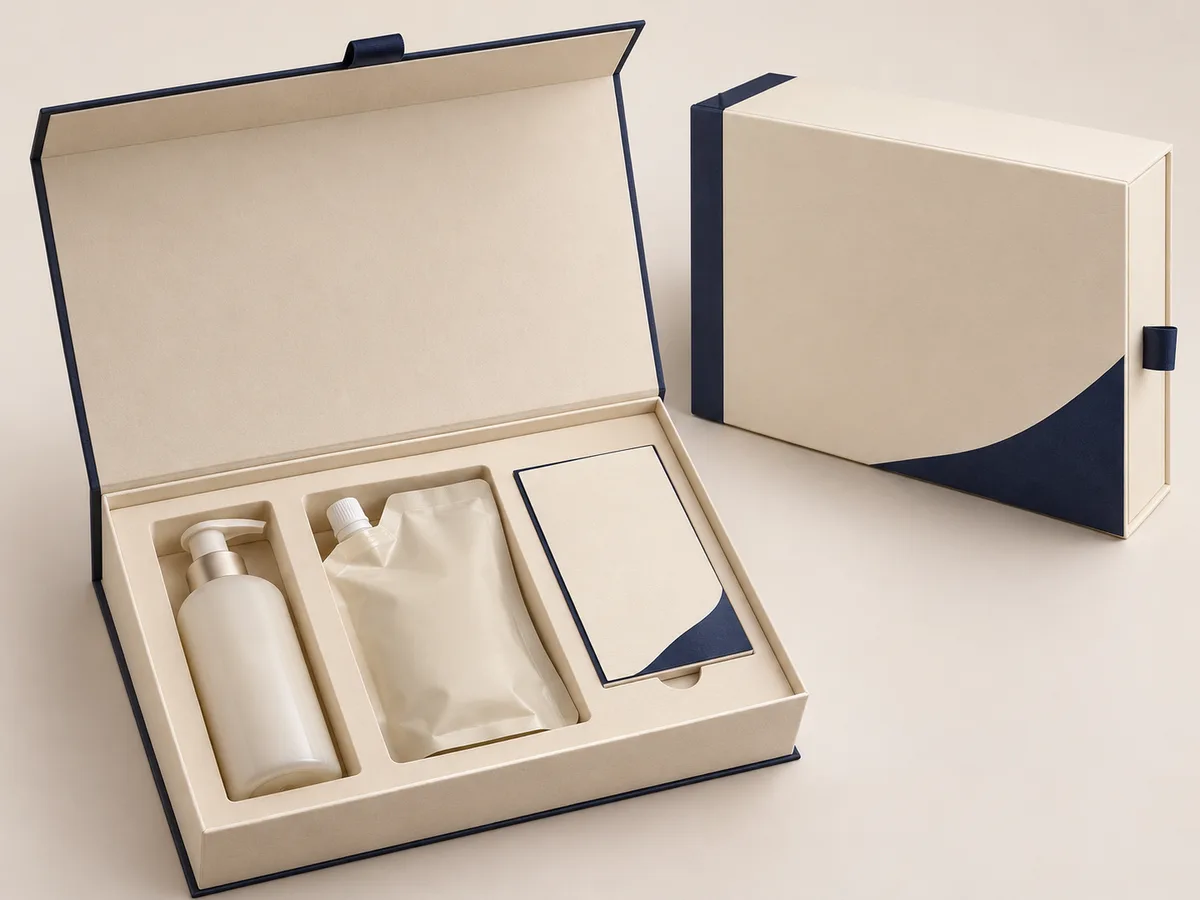
Plan a book-style gift box around the filled pouch, capped pump, insert and information card.
Record the pump bottle’s maximum width and height with the pump locked and cap fitted. For the pouch, measure in the position it will occupy when filled and sealed, including the spout, seal edges and any bulge. Ask the container suppliers for relevant dimensional ranges; one loose sample does not establish production variation.
Agree who provides filled samples and whether a non-product substitute is permitted. Keep the substitute clearly identified and compare its mass and shape with the real item.
Lay each component into a representative insert. A pouch resting against a pump head or a box edge can create a concentrated contact point. Provide a support surface under the pouch body and reserve space around its closure; verify the actual arrangement with the pouch supplier.
Do not place a firm card or insert edge where the closed lid presses on the spout. Compare the loaded set before and after closing the lid. The image is a design concept, not evidence of leak resistance or an approved insert.
Illustrative review: a full refill pouch has a wider bottom than the empty pouch in the artwork file. If the pocket was approved only with the empty pouch, the filled pouch may stand proud and contact the lid. Re-measure the filled item and revise the insert drawing before approving production; this is an example, not an MTT project.
Can a customer lift the bottle by its body without operating the pump? Can the pouch be lifted without pulling its spout? Trial a finger recess, ribbon or a different support height as appropriate. Confirm that any accessory is quoted and supplied separately rather than assumed to be included.
Where the card or insert is removable, observe the order in which the recipient encounters each component. A deep cavity can retain a product but make it hard to remove; a wide opening improves access but may need another retention feature. Compare alternatives using the same representative items and record which condition the brand accepts.
A presentation insert locates the items; it does not by itself prove protection in a parcel network. Define the complete product and shipping configuration before deciding whether laboratory assessment is needed. ISTA distinguishes screening procedures from distribution simulations; choose a plan with the laboratory for the real route.[1]
Compare the pump-and-refill book box concept with the jar-and-serum insert guide; their different products require different fit checks.
Provide filled product dimensions and weights, photos of closures and labels, artwork, card size, quantity by design, destination and who packs the kit. MTT can review the project from 1,000 boxes per design. Confirm actual materials, colours, logo and final fit on a physical sample.
From guide to product
Explore the opening, material and insert details for each design. These are options to review, not proof of a tested fit for your product.
Rigid gift boxes · Book-style rigid box
Wrapping paper; color and texture confirmed during sampling
View structure & details →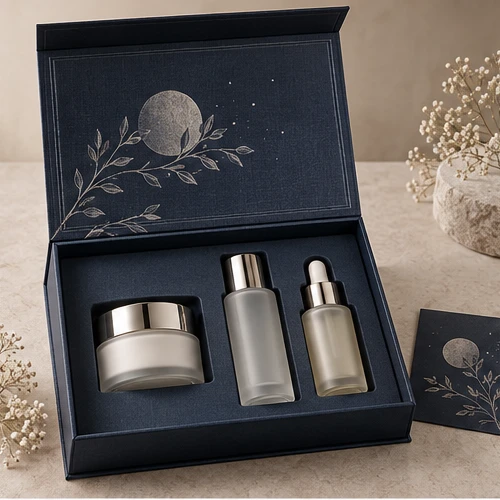
Rigid gift boxes · Magnetic book box
Fine linen-textured wrapping paper
View structure & details →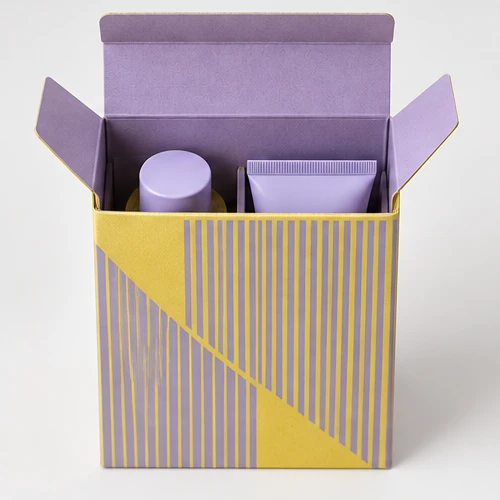
Folding cartons · Crash-lock bottom carton
Uncoated kraft paperboard
View structure & details →Payment Options
Available for confirmed production orders.
Available for eligible payments.
Available payment methods may depend on order value, project stage and transaction arrangements confirmed with MTT Packaging.
 Bank Transfer
 PayPal